Rolling Kiln Stand
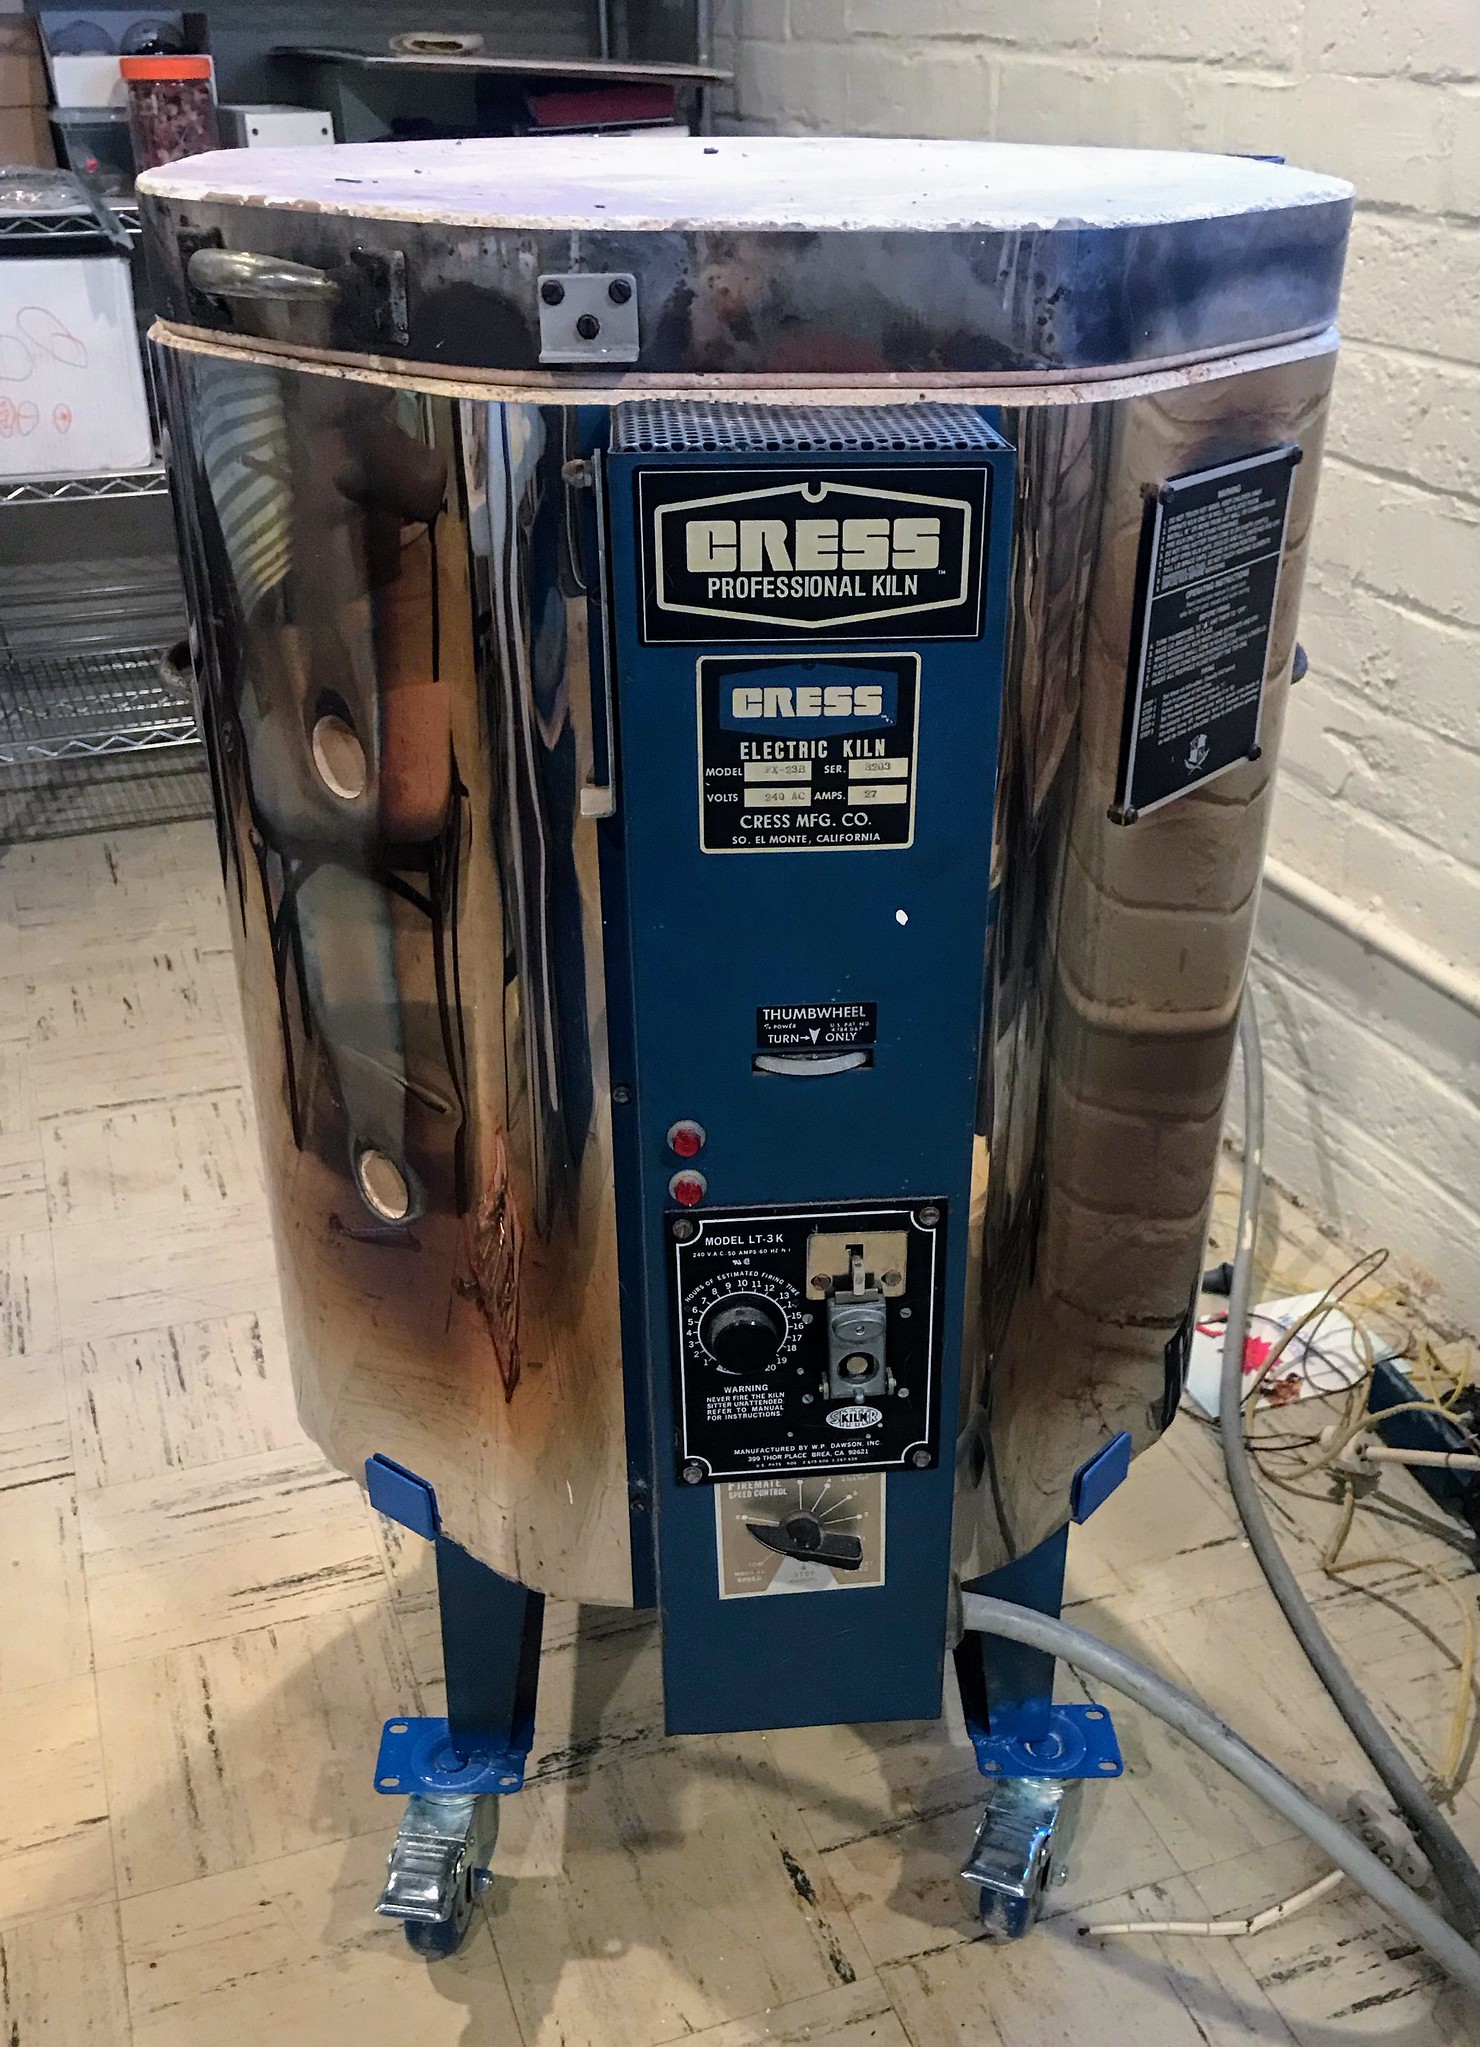
Tatyana has two kilns in our basement art studio. Most of the time they are tucked away against the wall when not in use. To use them however, they need to be moved out from the wall. Which was a pain in the 🍑 to do. So I added 3" casters to the metal stands the kilns rest on.
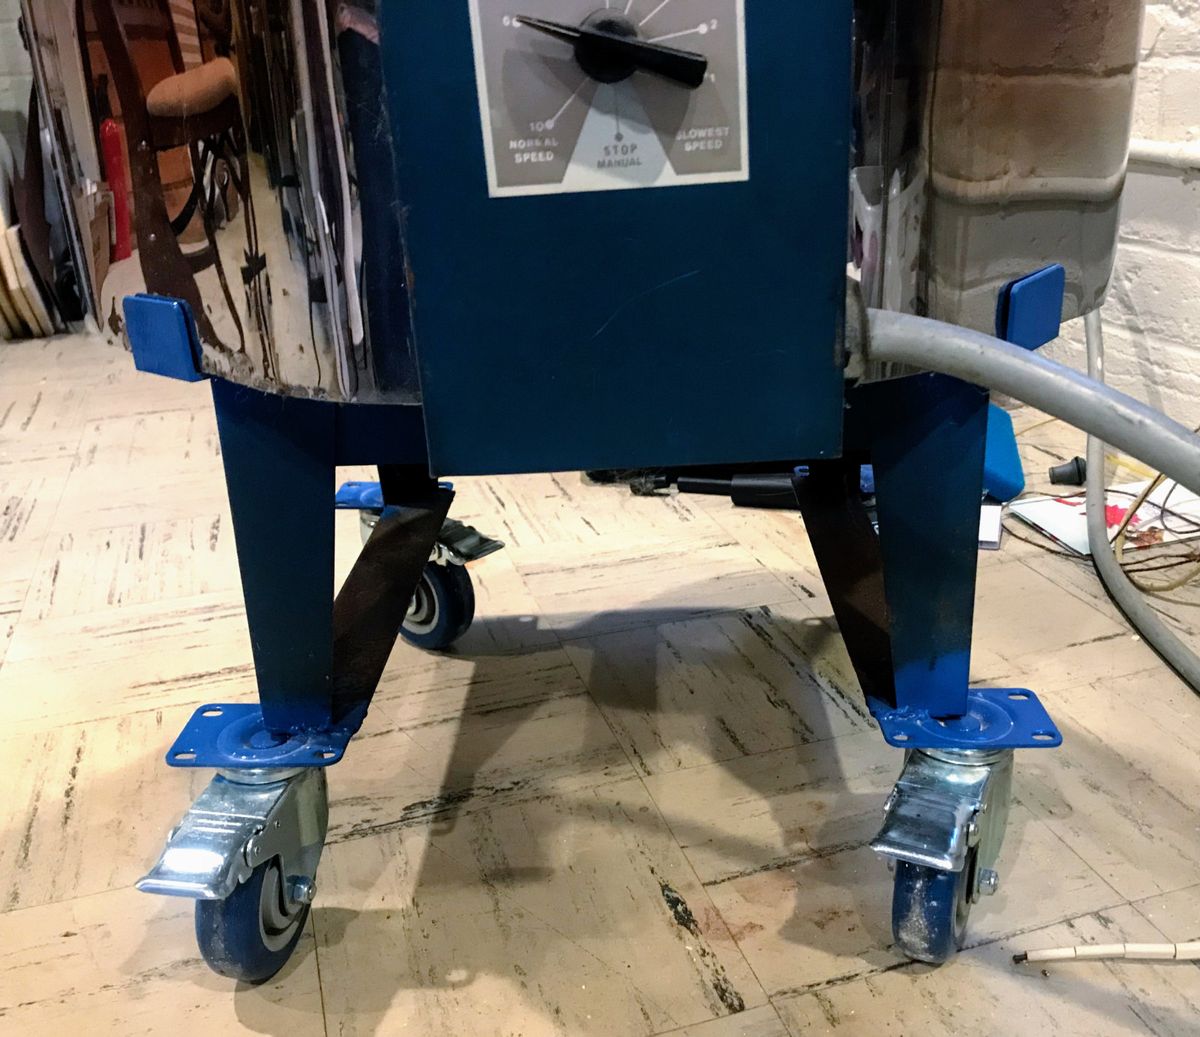
Tatyana has two kilns in our basement art studio. Most of the time they are tucked away against the wall when not in use. To use them, however, they need to be moved out from the wall. Which was a pain in the 🍑 to do. So I added 3" casters to the metal stands the kilns rest on.
I ordered 4 x 3" lockable swivel casters with polyurethane wheels for smooth rolling.

Since both frame and the swivel plate are metal I could weld them together. Yay, another welding project! I'm still a beginning welder and could use a project like this to improve my skills.
I started out by grinding the paint off from the feet of the stand to expose bare metal to weld on to. The frame's sheet metal is rather thin and flexed more than I was comfortable with. Decided to add a crossbar to the feet to stiffen the frame. Luckily I had some flat steel I could use for this. It came with the Hobart Handler 140 MIG Welder I'd picked up on Craigslist
I cut the flat steel to size with a cut off wheel on the grinder. Then switched over to a flap disc to remove scale and rust. Holding the crossbar in place with the one welding magnet I have was just enough to weld the opposing end in place "freehand".
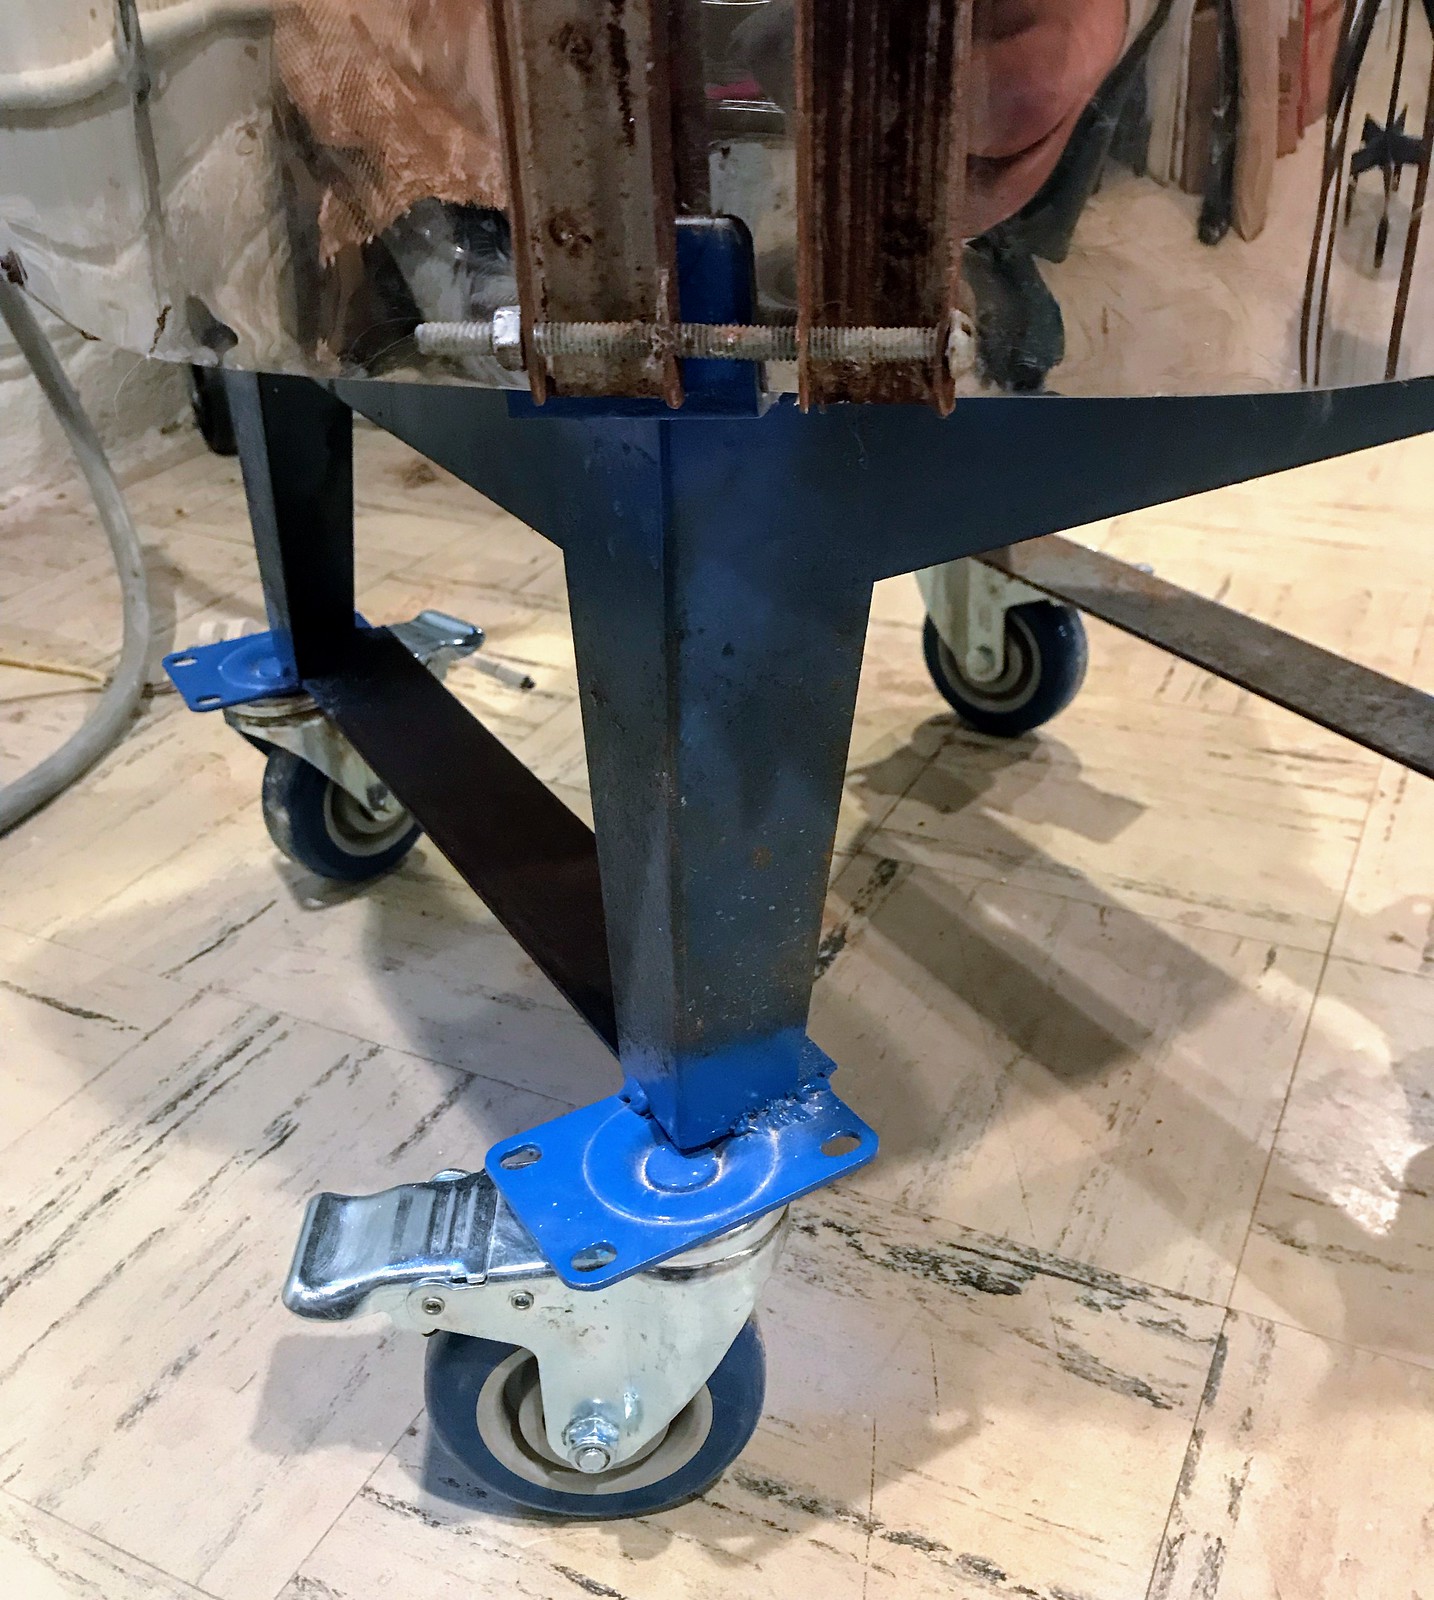
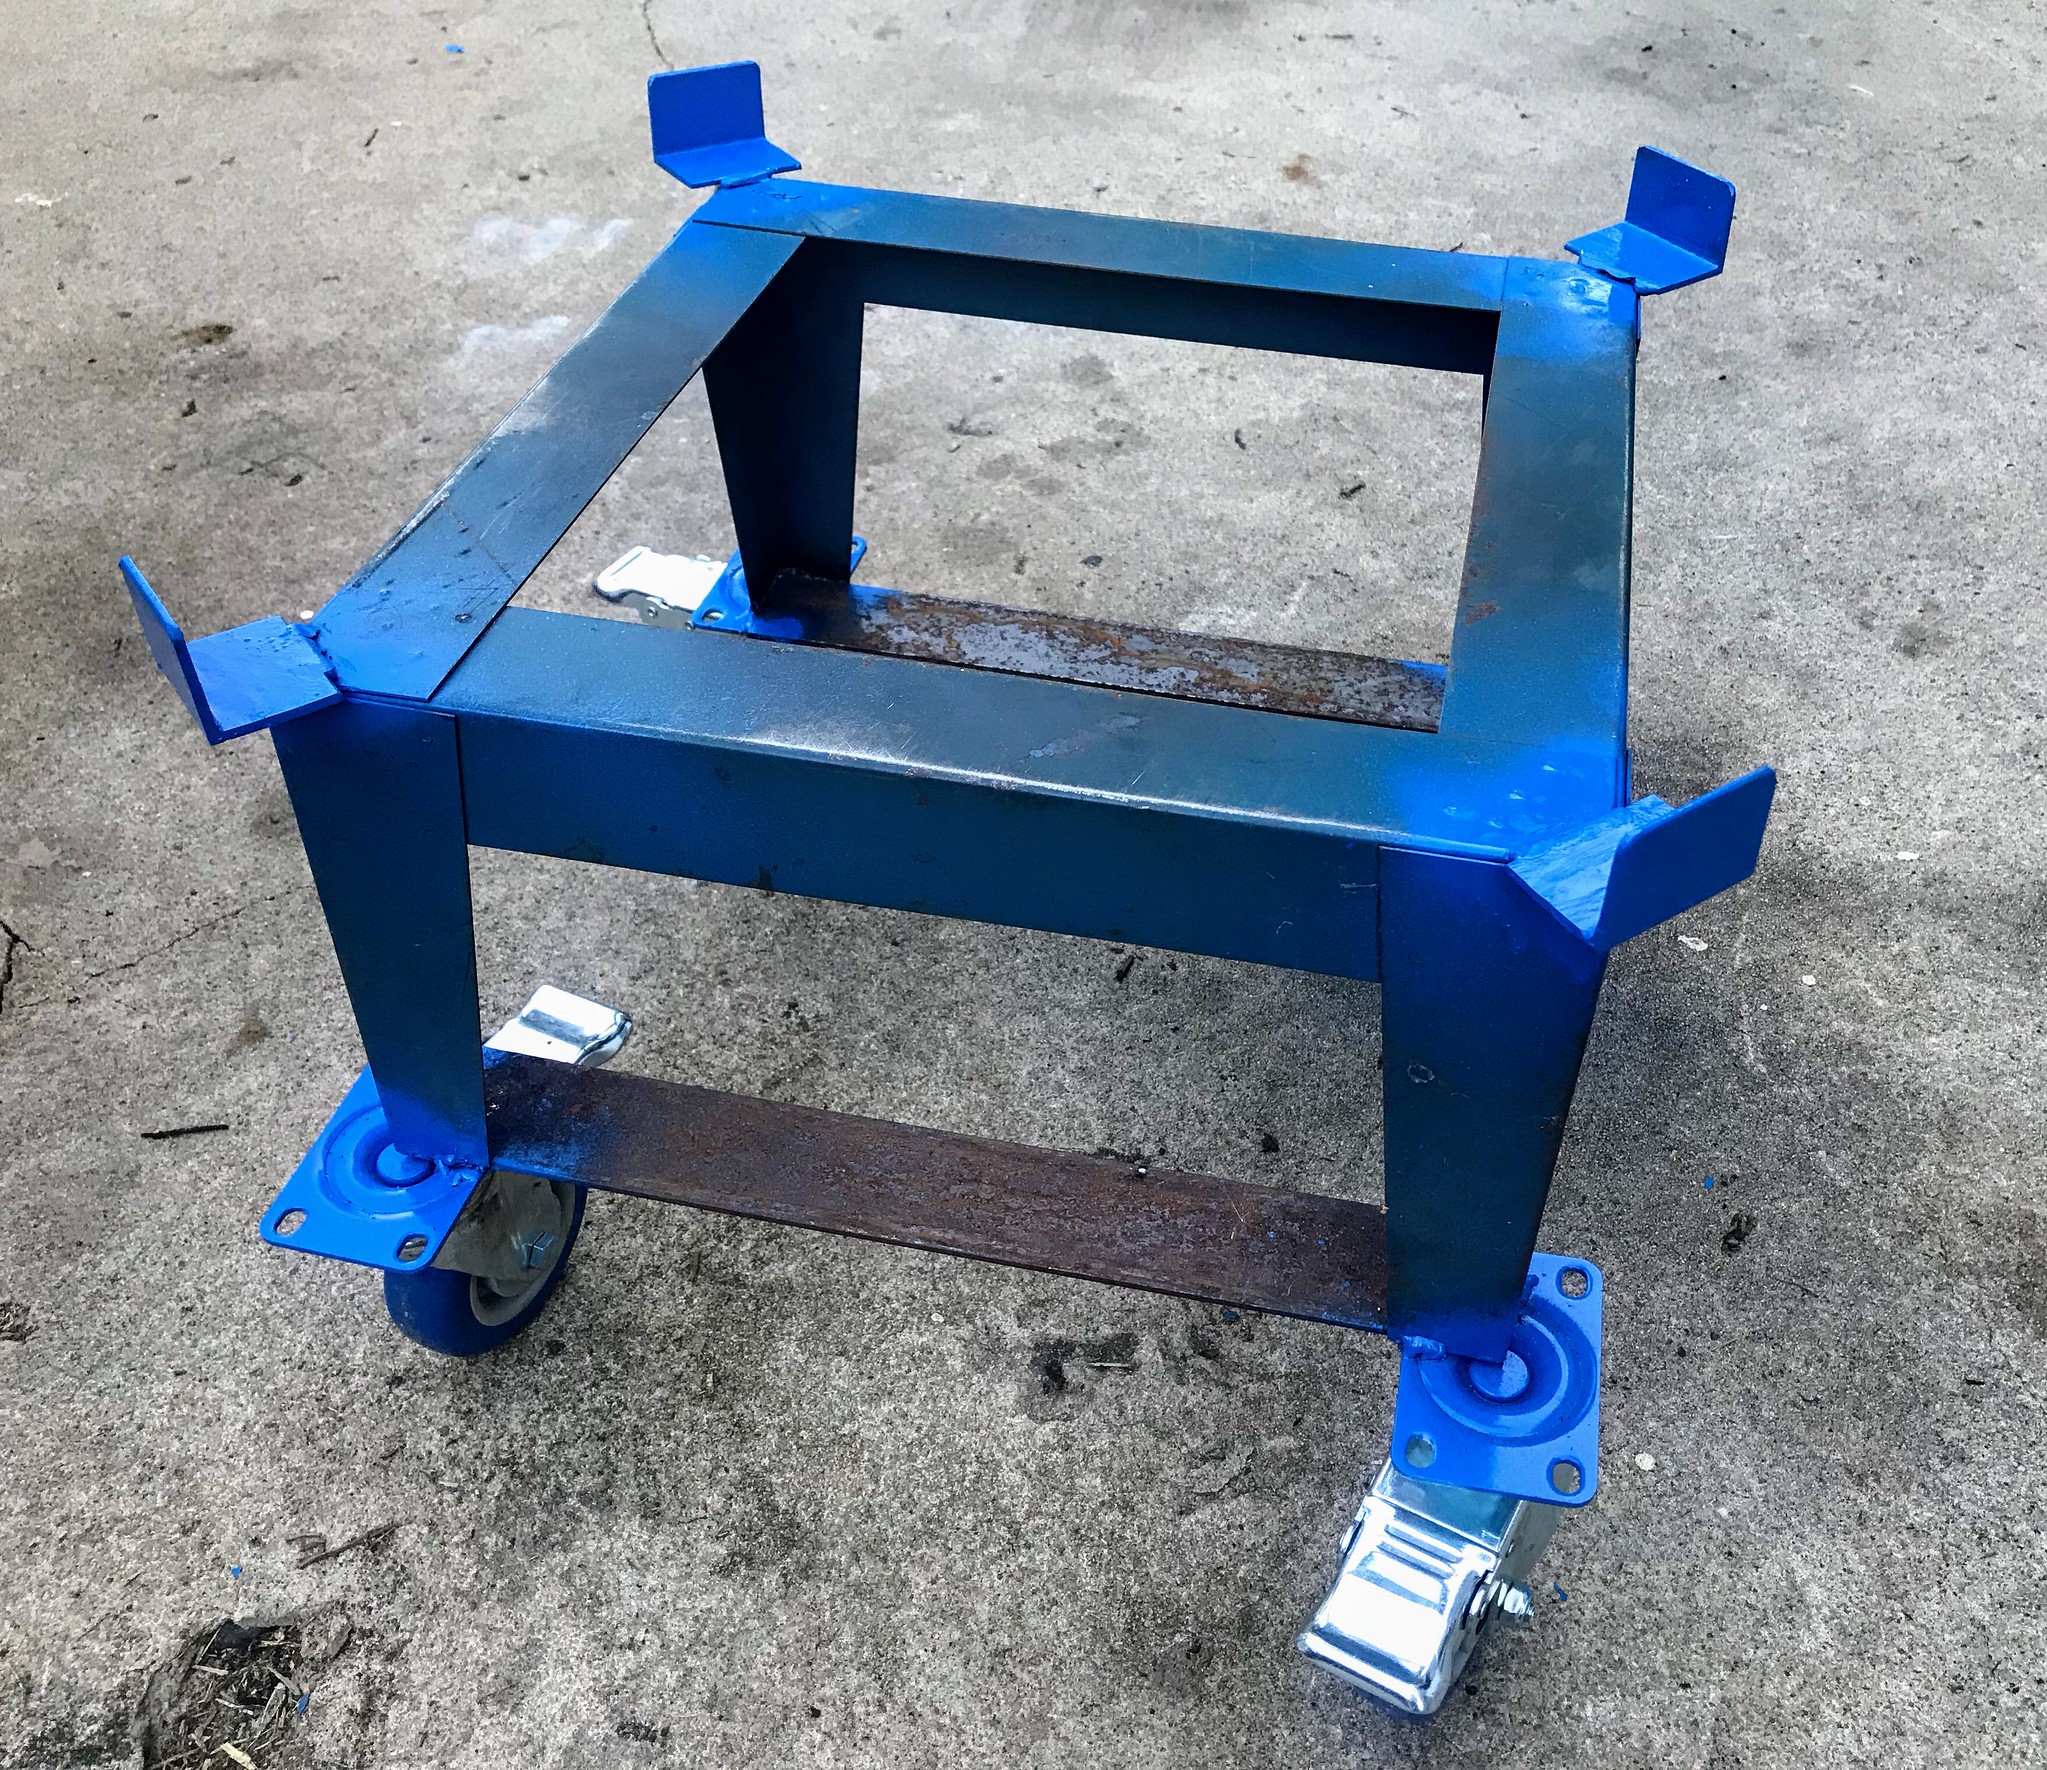
The crossbars not only stiffened up the legs but also provided the surface to weld the casters to. I placed the casters as far out as possible to create a more stable stand.
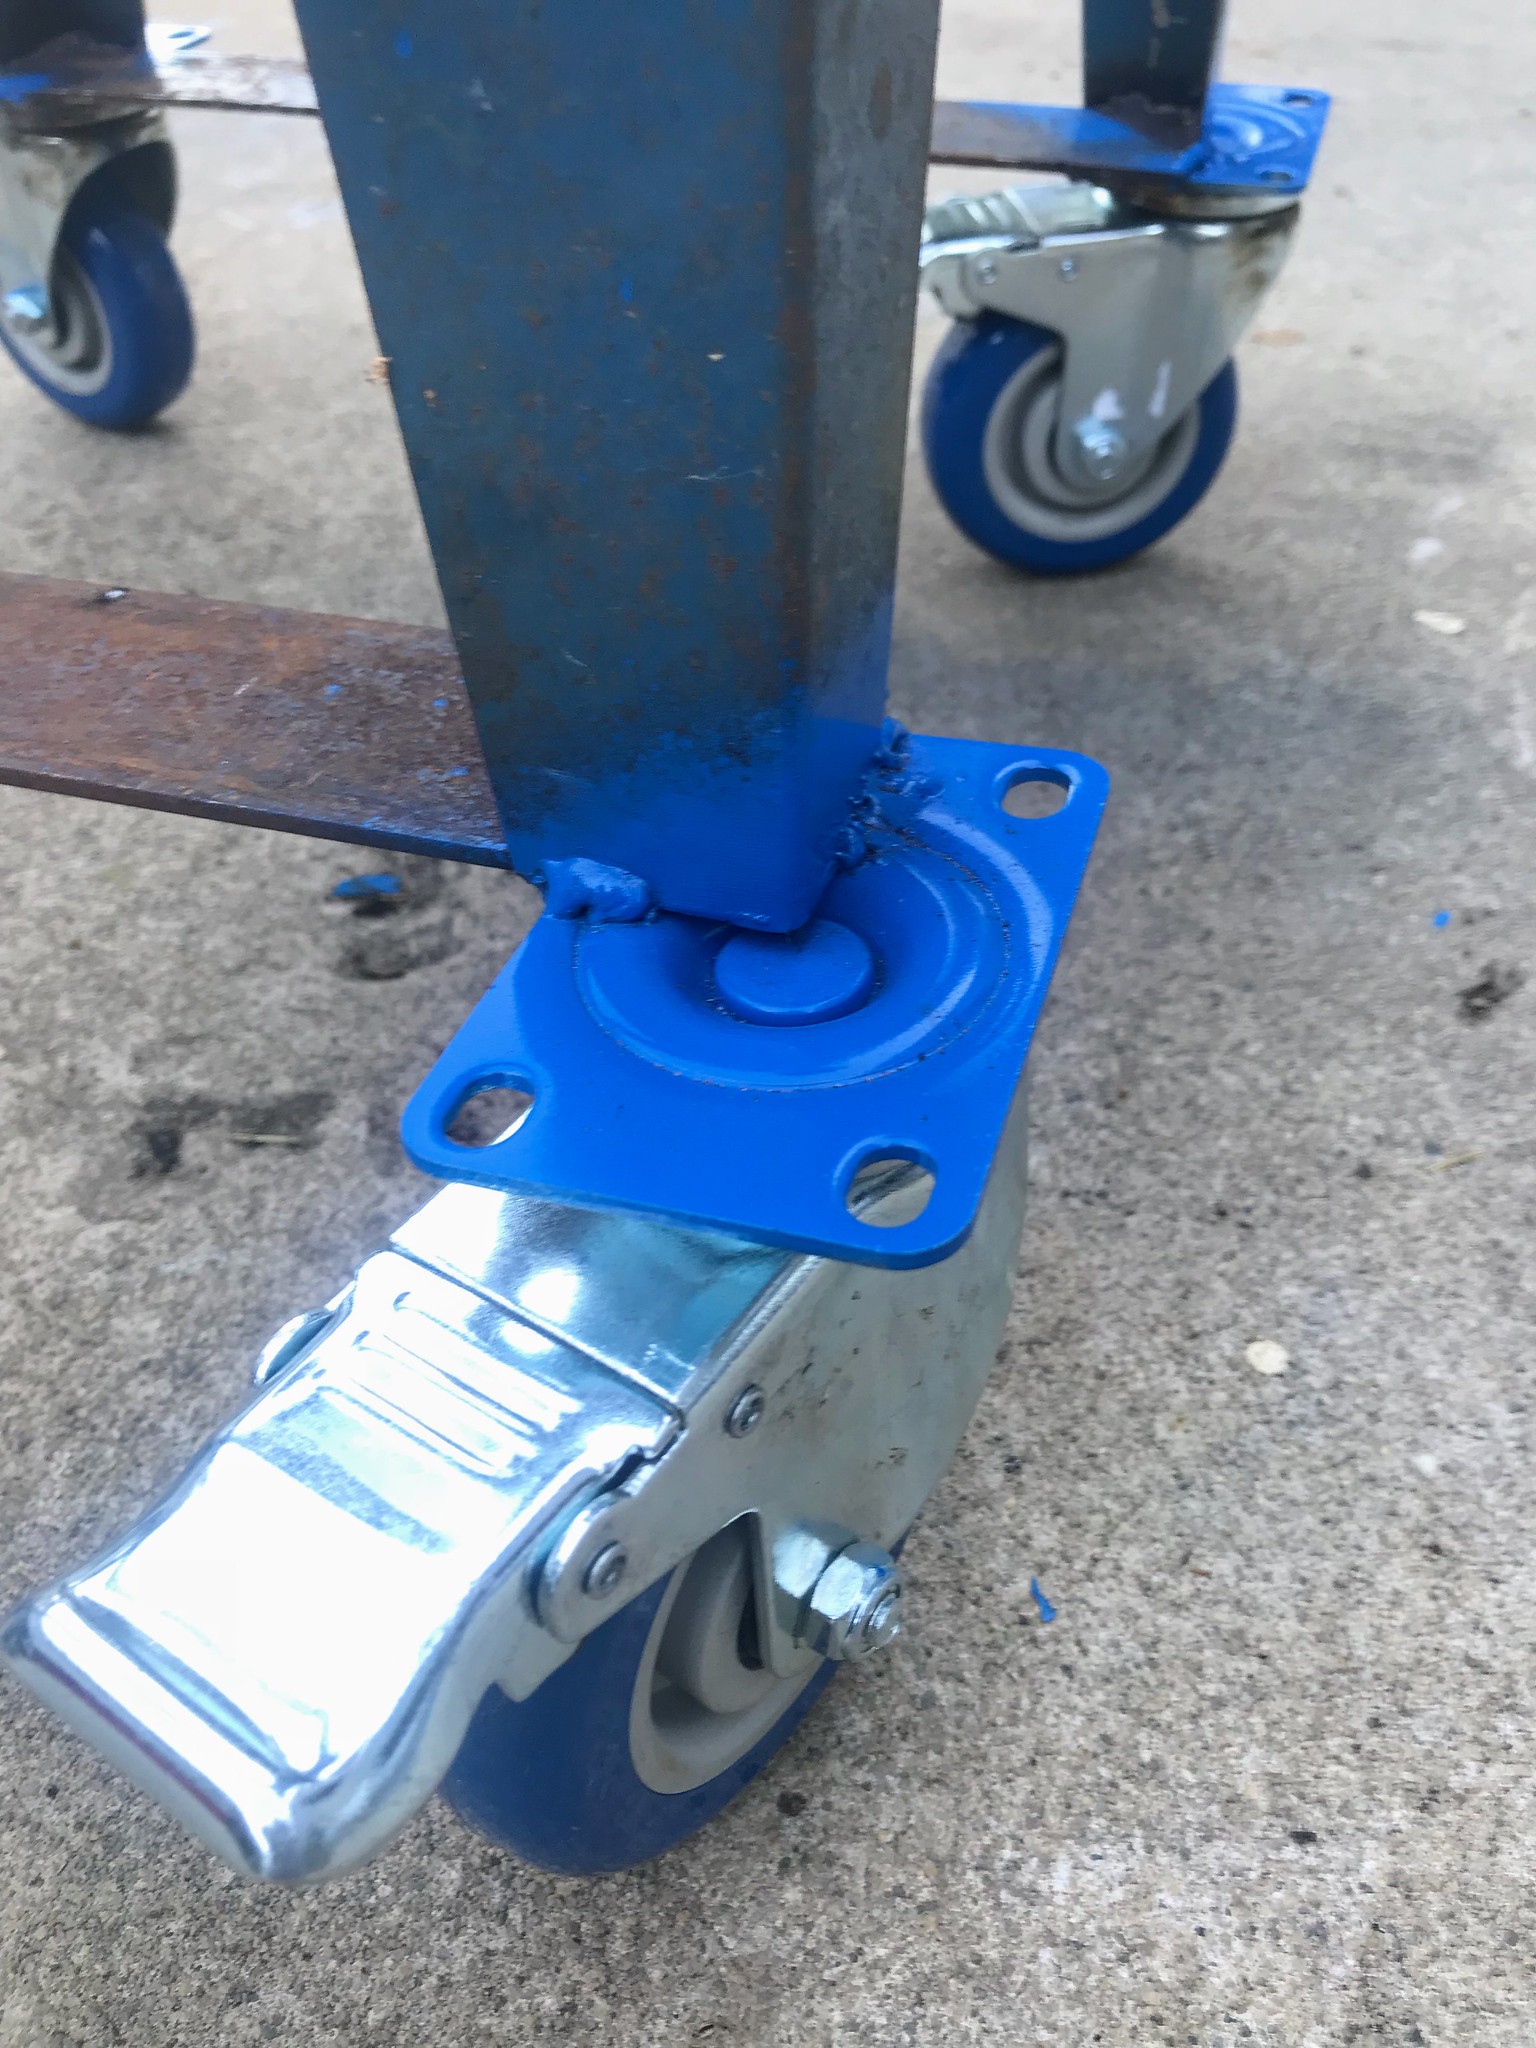
Not only is the kiln much wider than the stand, it could also slide on the stand. In the past pushing the kiln around would often slide the kiln on the stand rather than moving the kiln with the stand around on the floor. To prevent this from happening again I added 4 tabs to the top of the stand to hold the kiln in place.
These tabs are made from some angle iron that had been buried in the concrete retaining wall next to the house. They used an assortment of scrap metal to reinforcement that wall: galvanized pipe, grounding rods, chicken wire, corrugated sheet metal and angle iron.
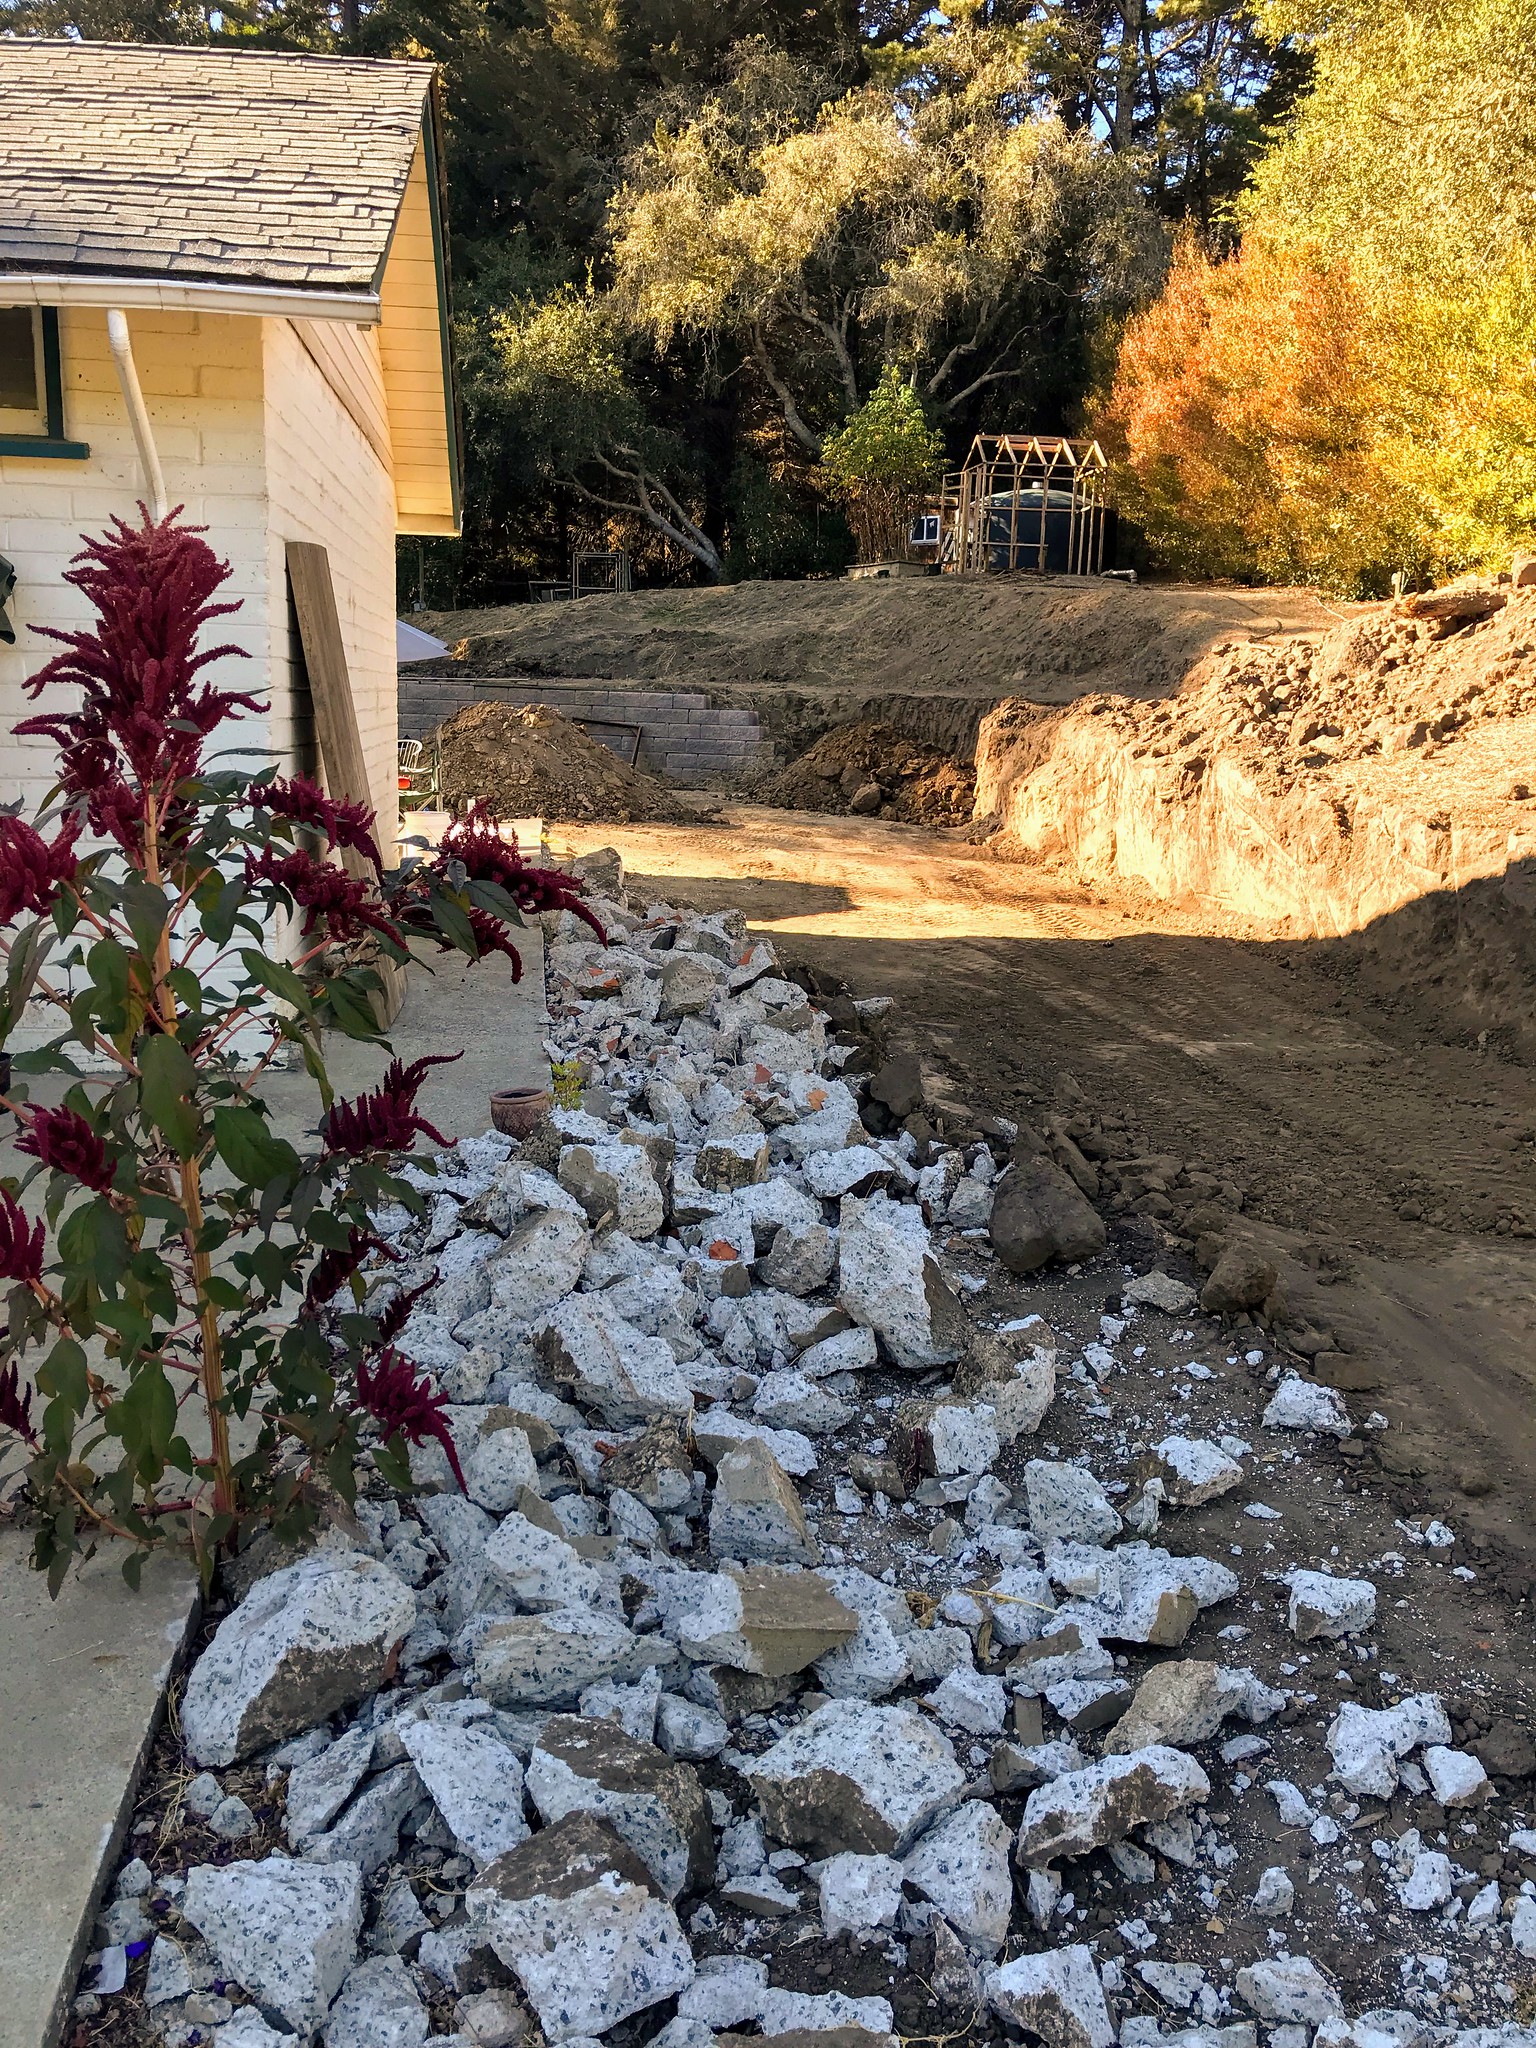
The flap disk, grinding wheel and disk sander made cleanup of the stuck concrete easy.
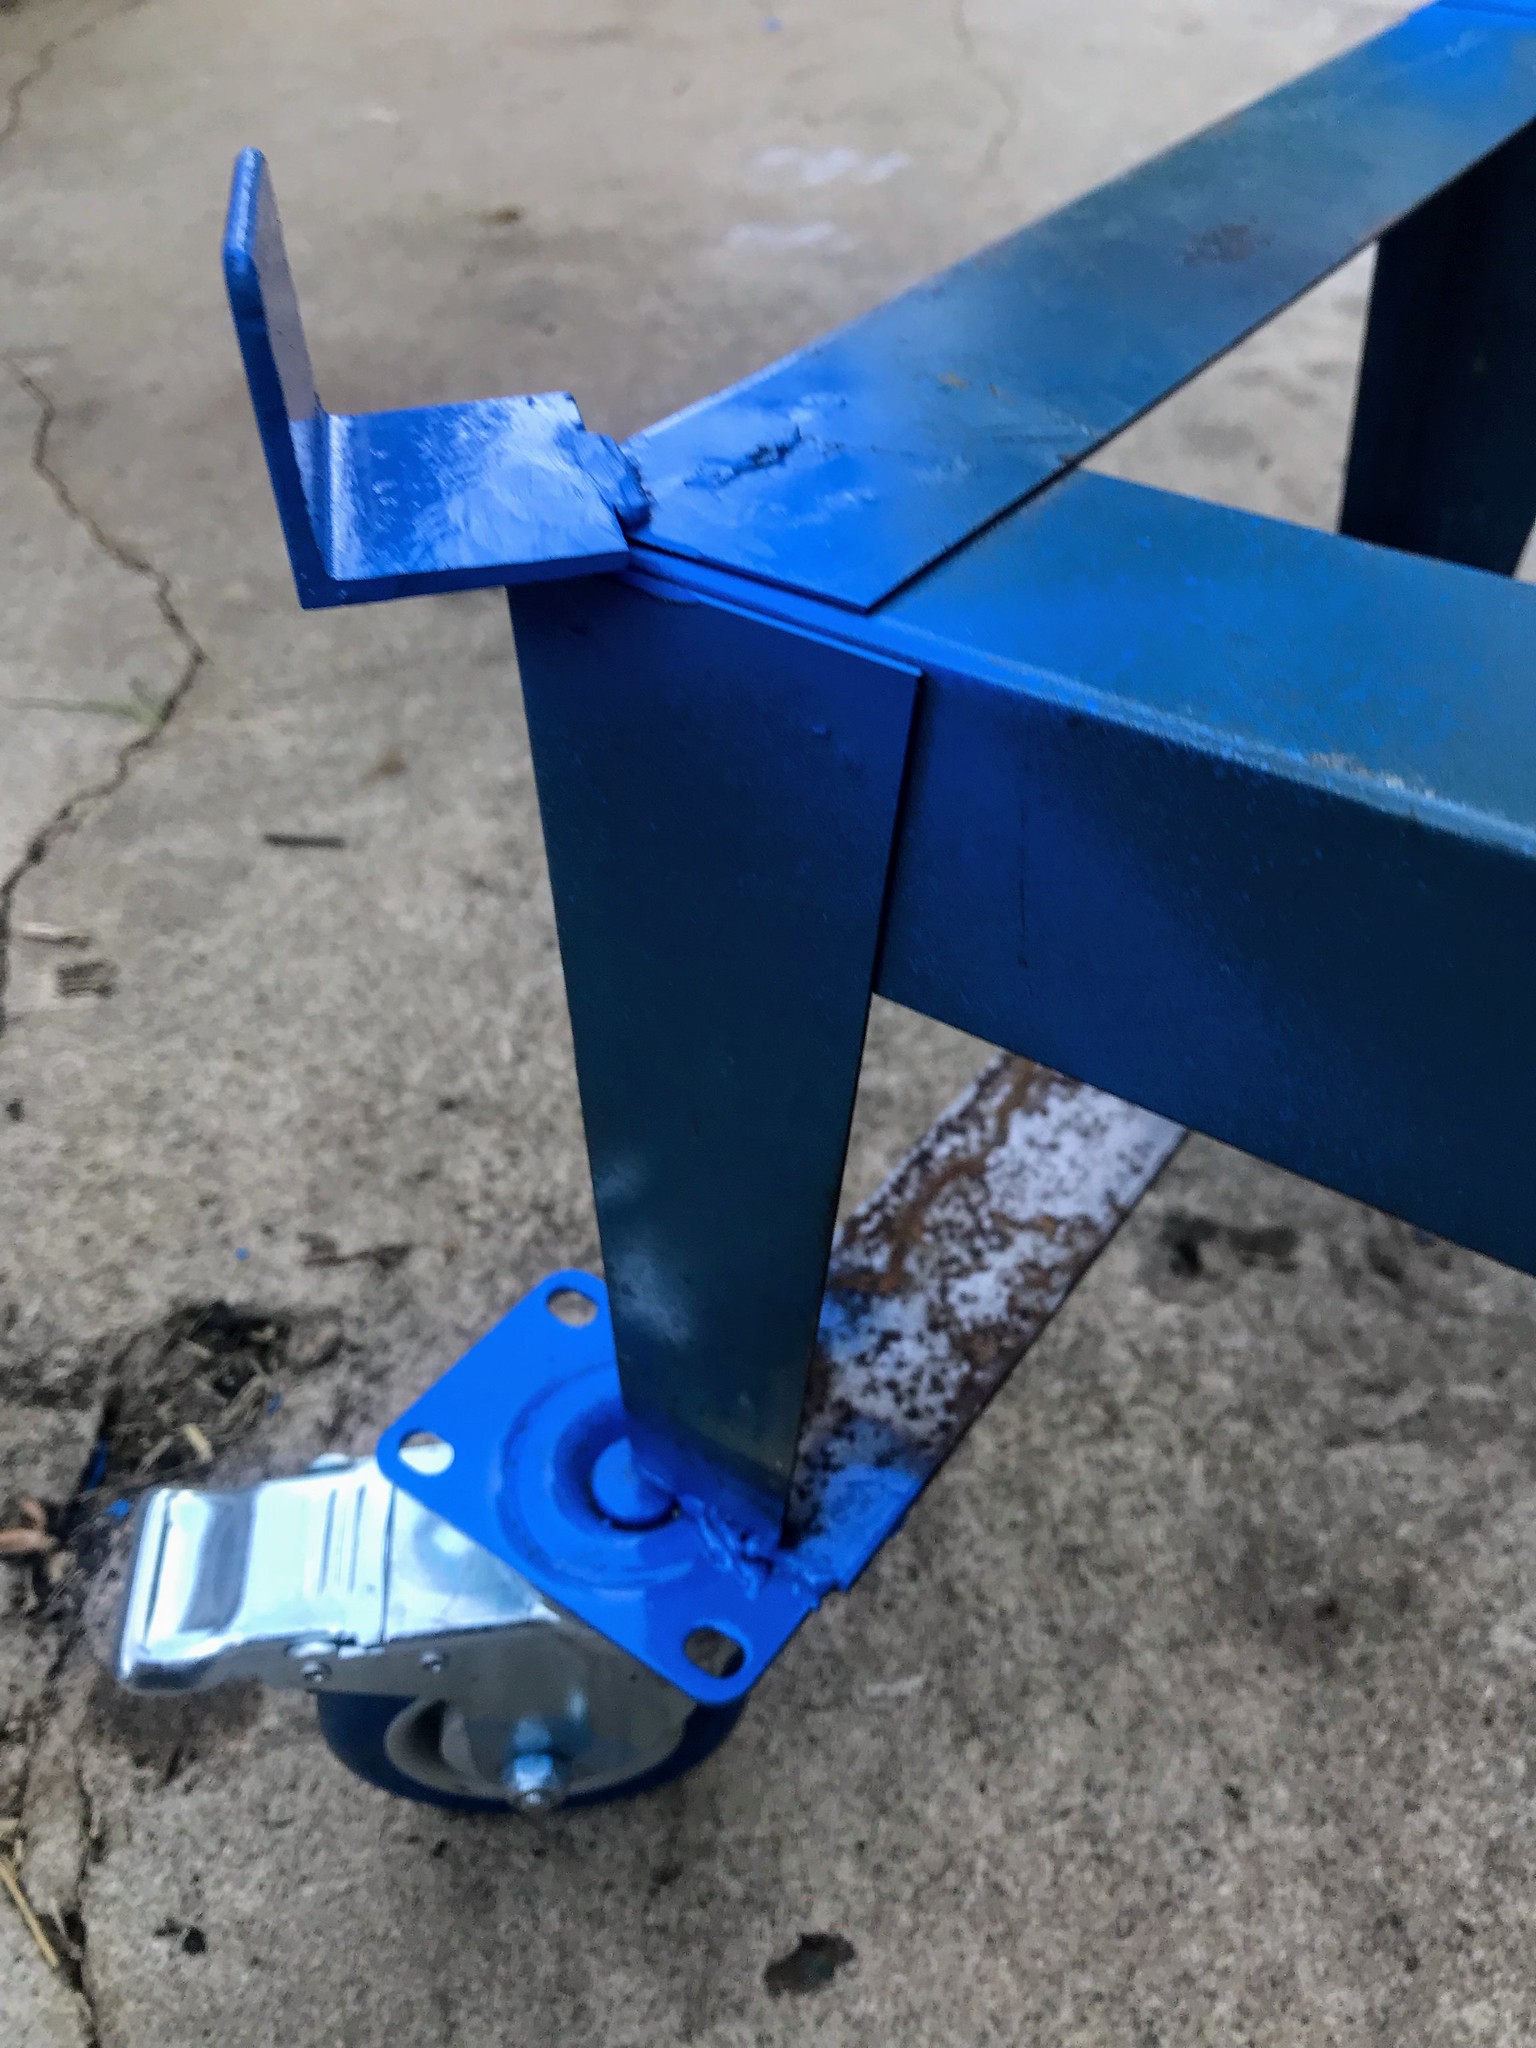
The stand was just big enough to place the tabs on the corners of the frame and fit around the kiln.
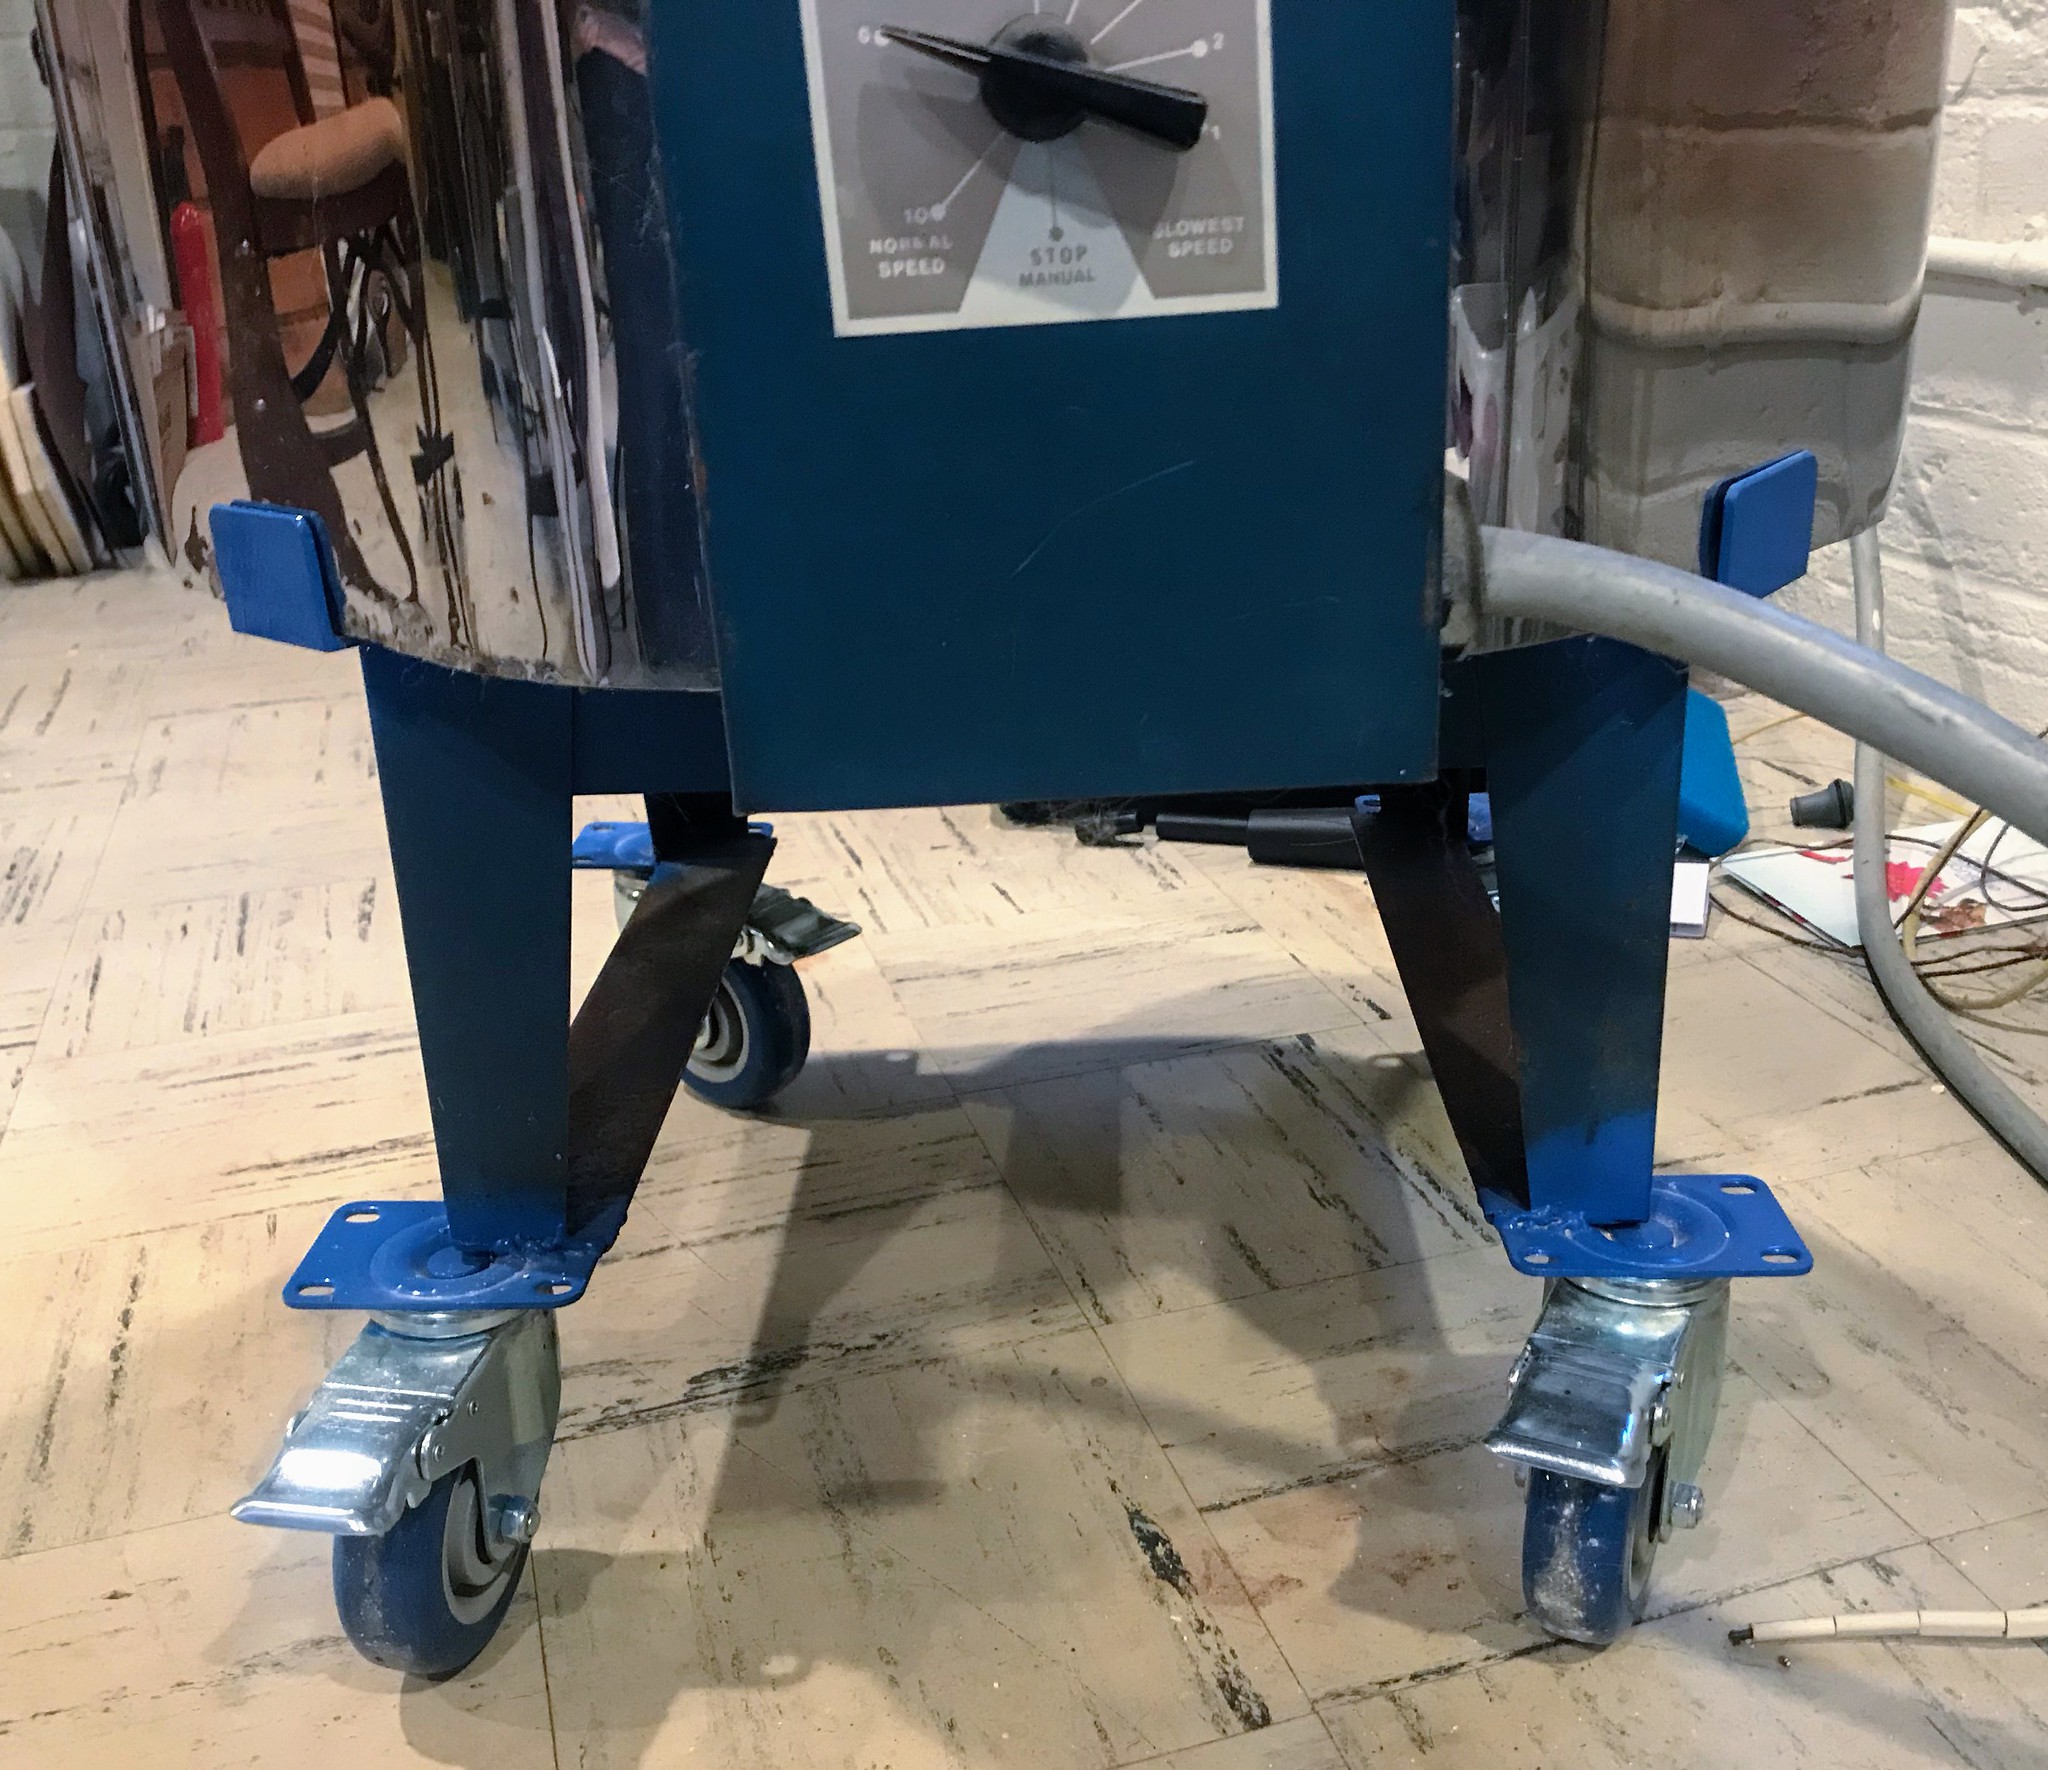
A lick of blue spray paint finishes off the new stand. It is such a joy to roll the kiln around. A fast improvement!
I'm keen to find out what Tatyana thoughts are after her first firing in her kiln on wheels.


