🤠 Rodeo Roundup 2018 Week #29
⚜ Casper returns from Camp Chawanakee with merit badges. 🚜 Set posts for a 12'x8' storage shed.

⚜ Camp Chawanakee
Casper was at Camp Chawanakee all week. Without a cellphone on him, we didn't from him the entire time. We went by "No news is good news".
Though I kept wondering how he was liking this camp. I was certain he would be having a good time, but you never know. He was bound to forge bonds with his fellow scouts at camp.
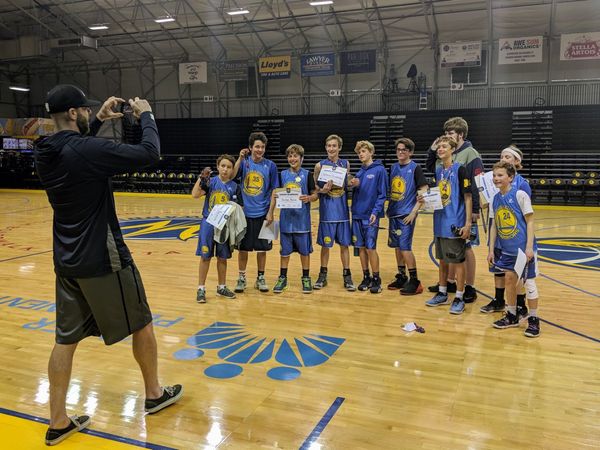
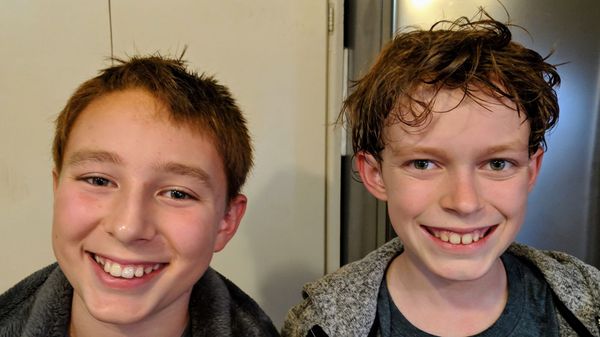
He arrived back in Santa Cruz on Saturday around 4pm. This time he was clearly part of the troop. He joked around with others and let them run with Honey.
Casper was proud of his first merit badges. He couldn't do kayaking due to a scheduling conflict, but achieved all the three:
- sailing,
- leather working and
- riffle shooting.
He is particularly proud of his five targets, each with five shots within the surface area of a dime. This was a hard one to achieve, not everyone got it.
Casper also discovered a love for fishing at camp. He even bought himself a small rod and tackle from the camp's store. I'm looking forward to fishing with him when we go to the Lassen area begin August.
🚜 On the Farm
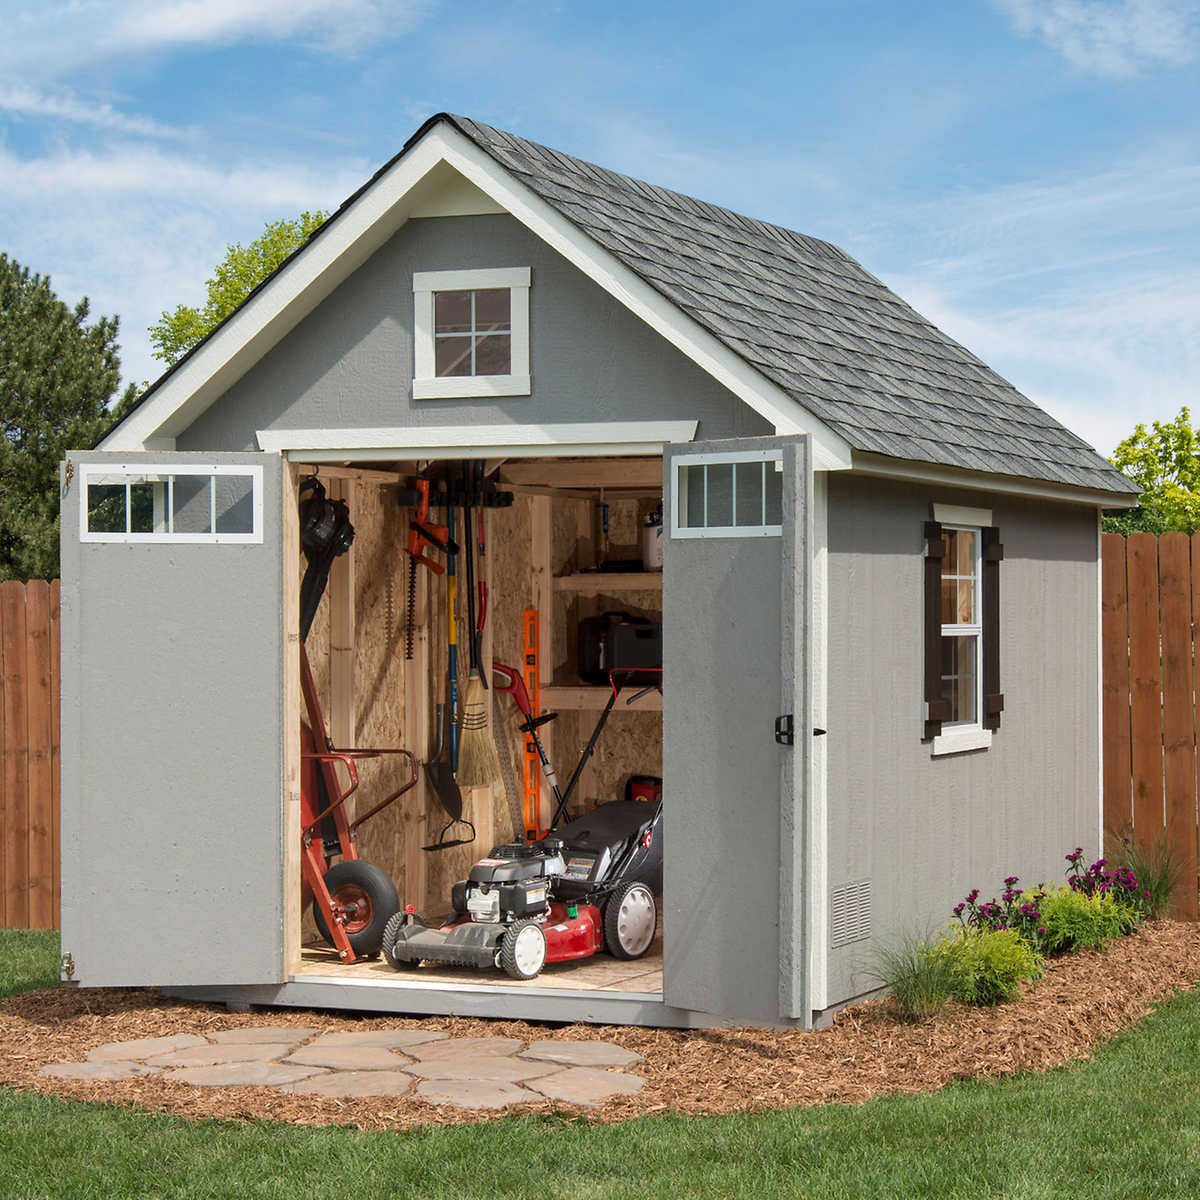
The Oakridge Storage Shed, Tatyanna had ordered from Costco arrived.
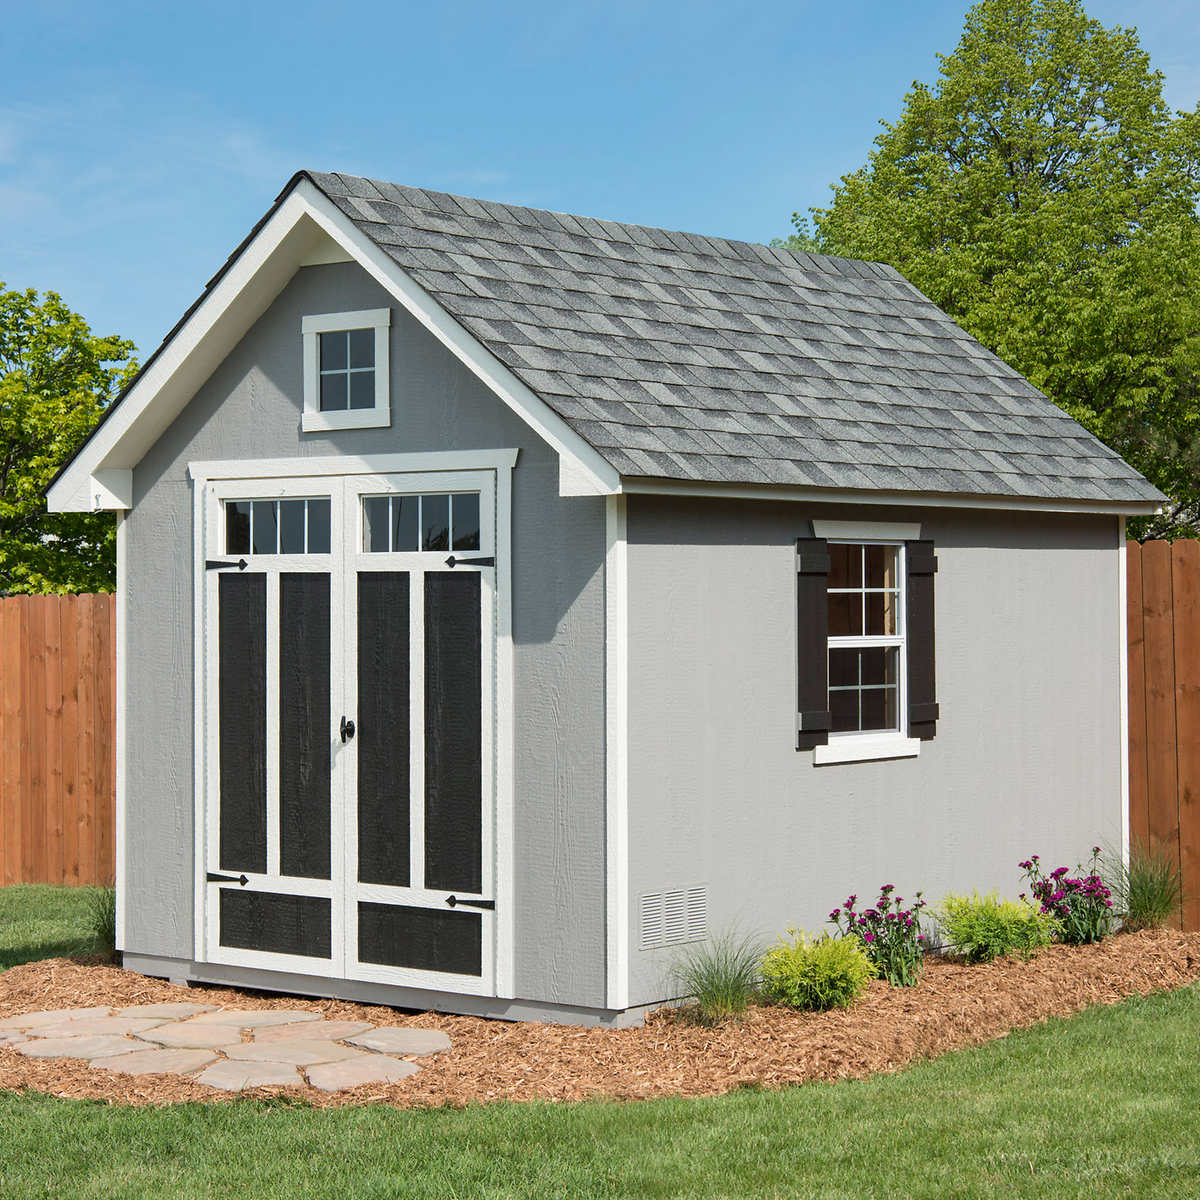
Time to put in a foundation. We debated a concrete slab versus concrete posts, ultimately deciding on posts because were we're putting shed has flooded twice in past years. On posts, the shed remains above the flood line.
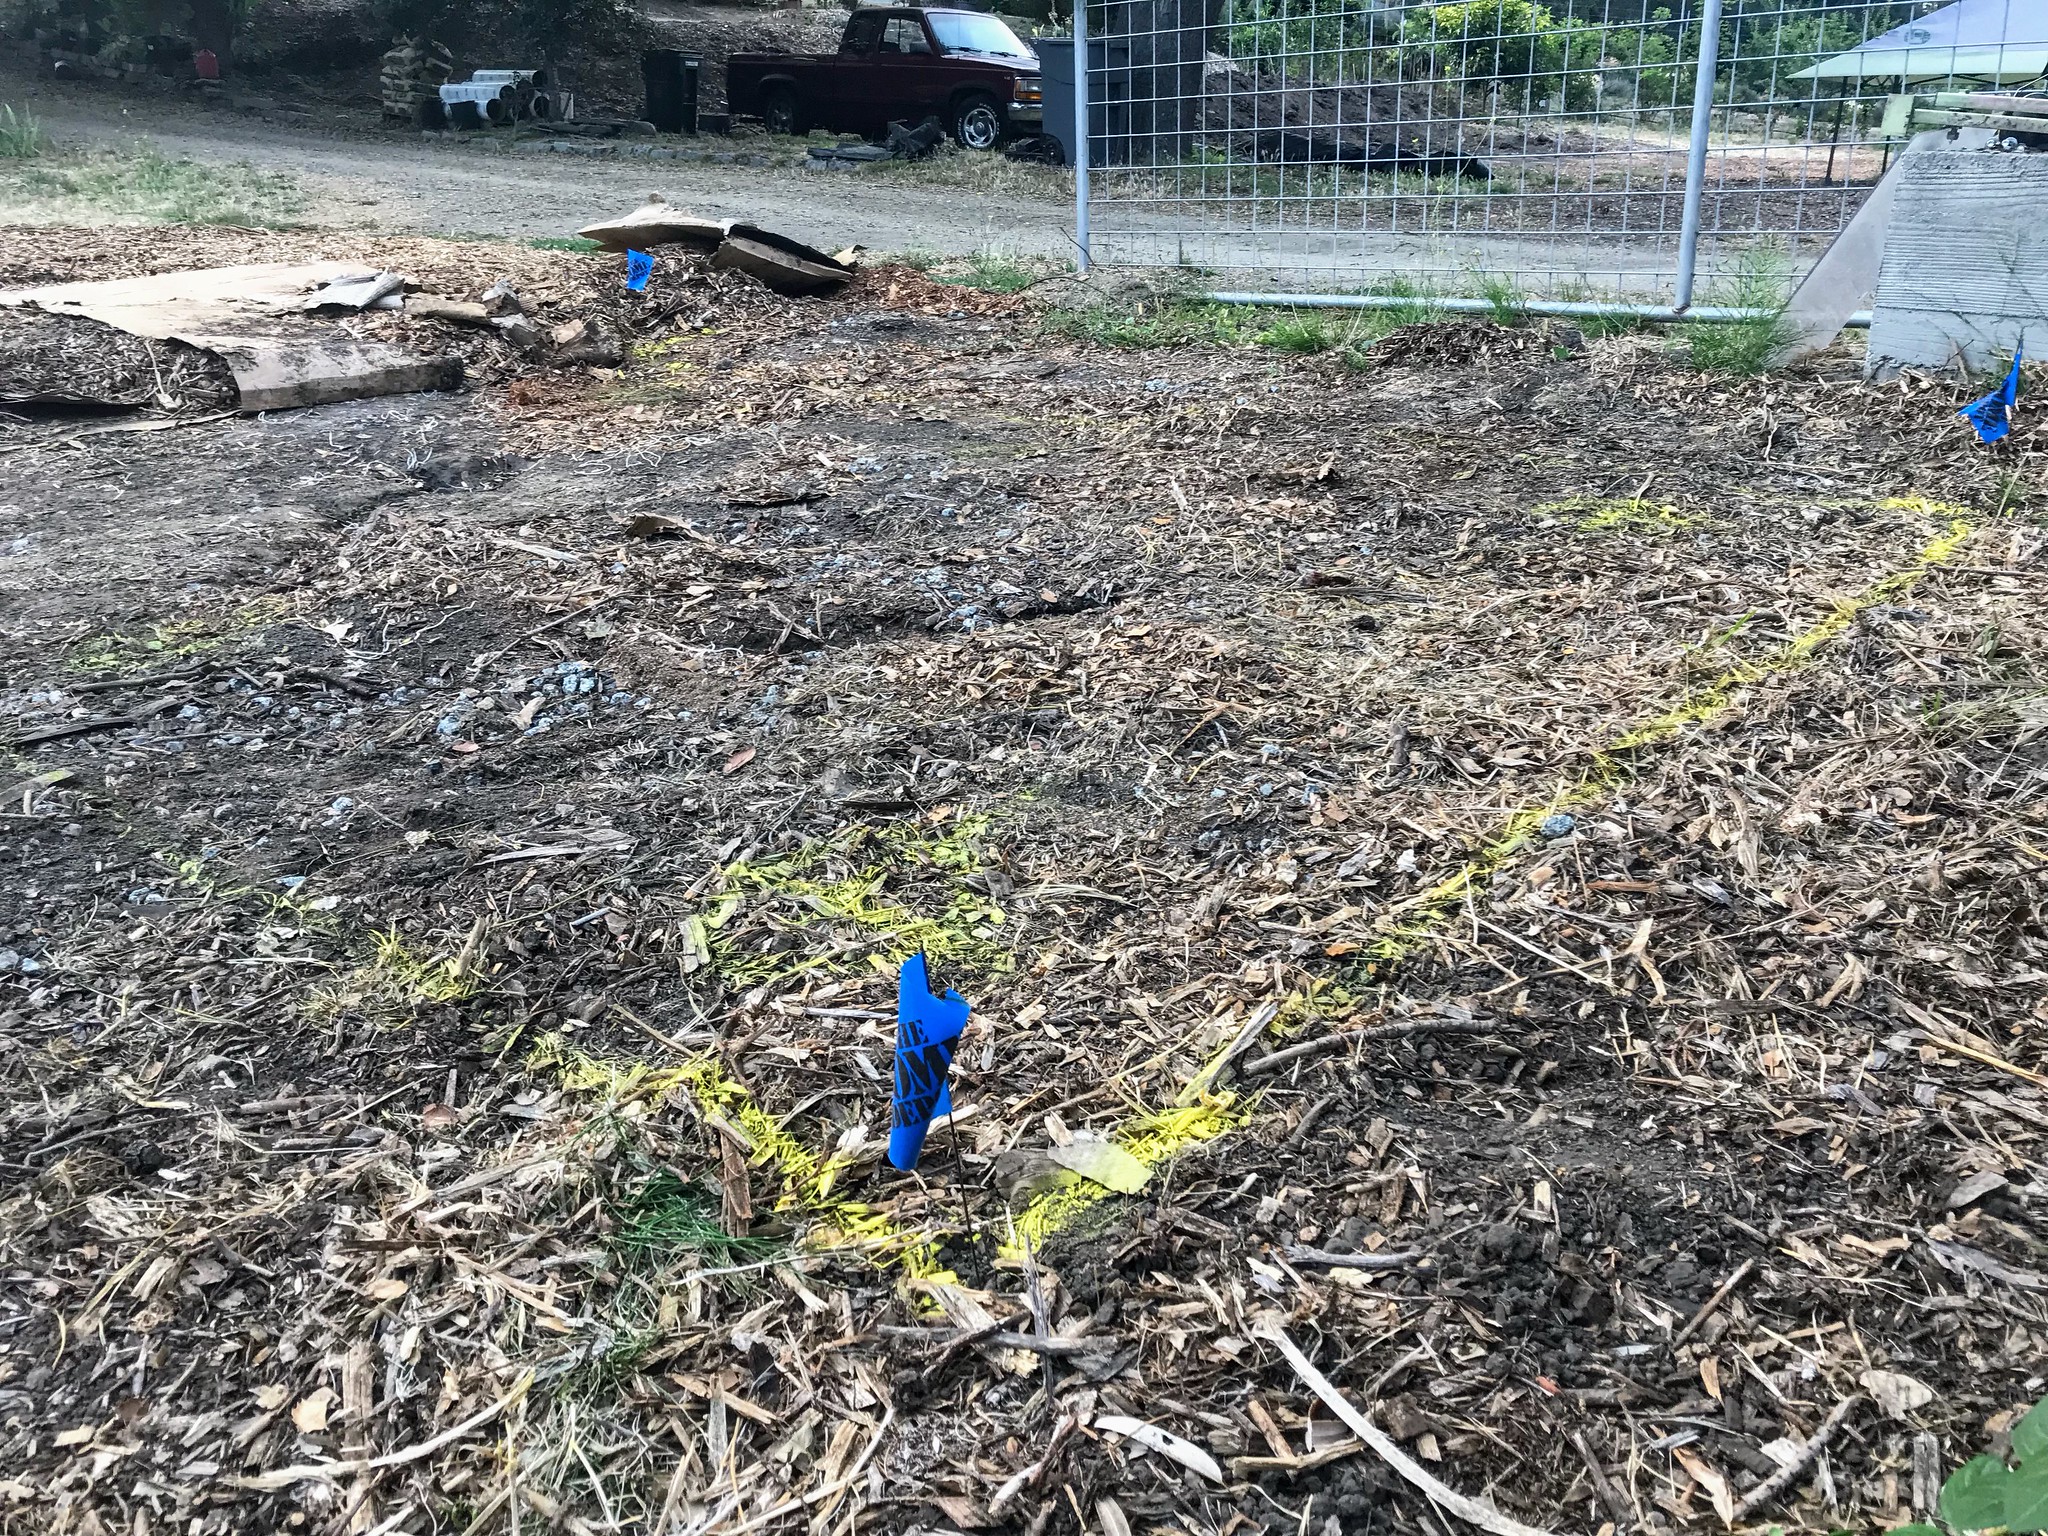
The shed will be placed at the bottom of our driveway, a few feet from the deer fence (and the creek a few more feet beyond).
I started out by pulling back the chips and cardboard. Then measured and marked the corners of the 12'x8' shed with blue landscaping flags. Next, I marked the locations of the concrete posts with yellow flags and yellow marking paint.
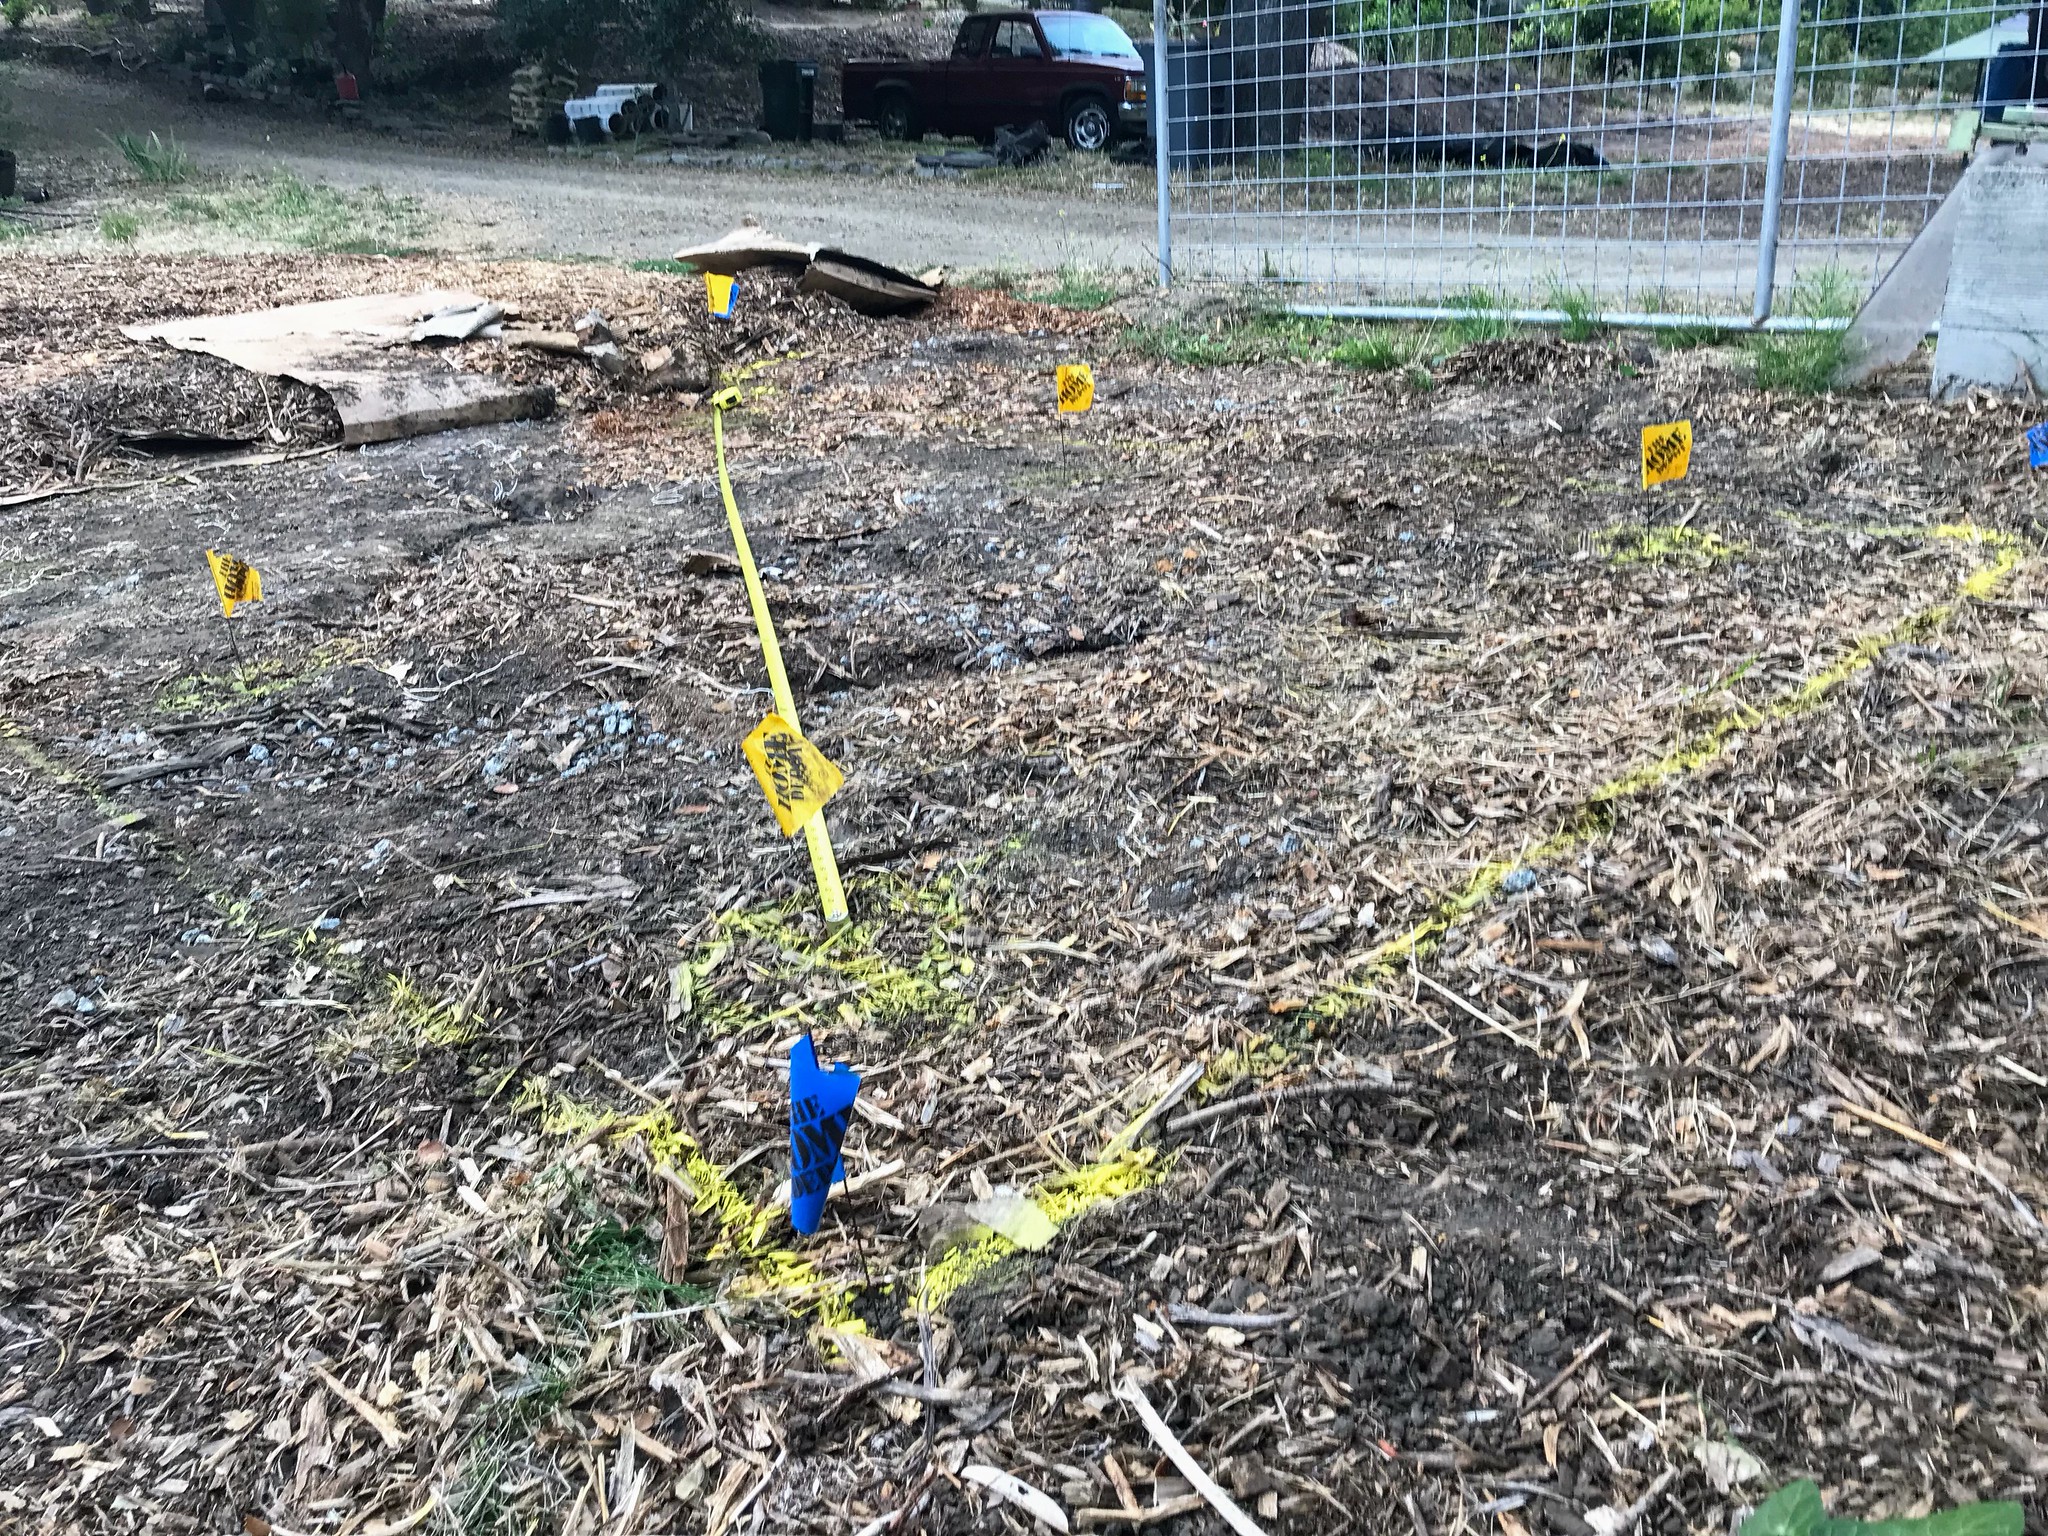
With the posts' locations marked I could dig the 3'6" holes for the 4' long forms. I'm sure this is overkill, but I want to do this only once. Better to be safe than sorry, and all that! This way, even when the ground gets really wet in the winter, and there is another flood, I can rest assured that the shed won't sag.
The tractor's backhoe made digging the holes rather painless. Three and a half foot is about the maximum depth I can dig with the backhoe. Perfect!

With Tatyanna's help I could level and plumb the 6 posts. The shed rests on two 4x4 beams, which in turn lay on three posts each.


On Sunday, I poured the concrete into the forms, one wheel barrel at a time. Each post took about 2 wheel barrels. Throughout the day, I checked on the settling concrete and added concrete to keep the forms filled to the top. At the end of the day, the concrete had set enough to be finished and left to cure.
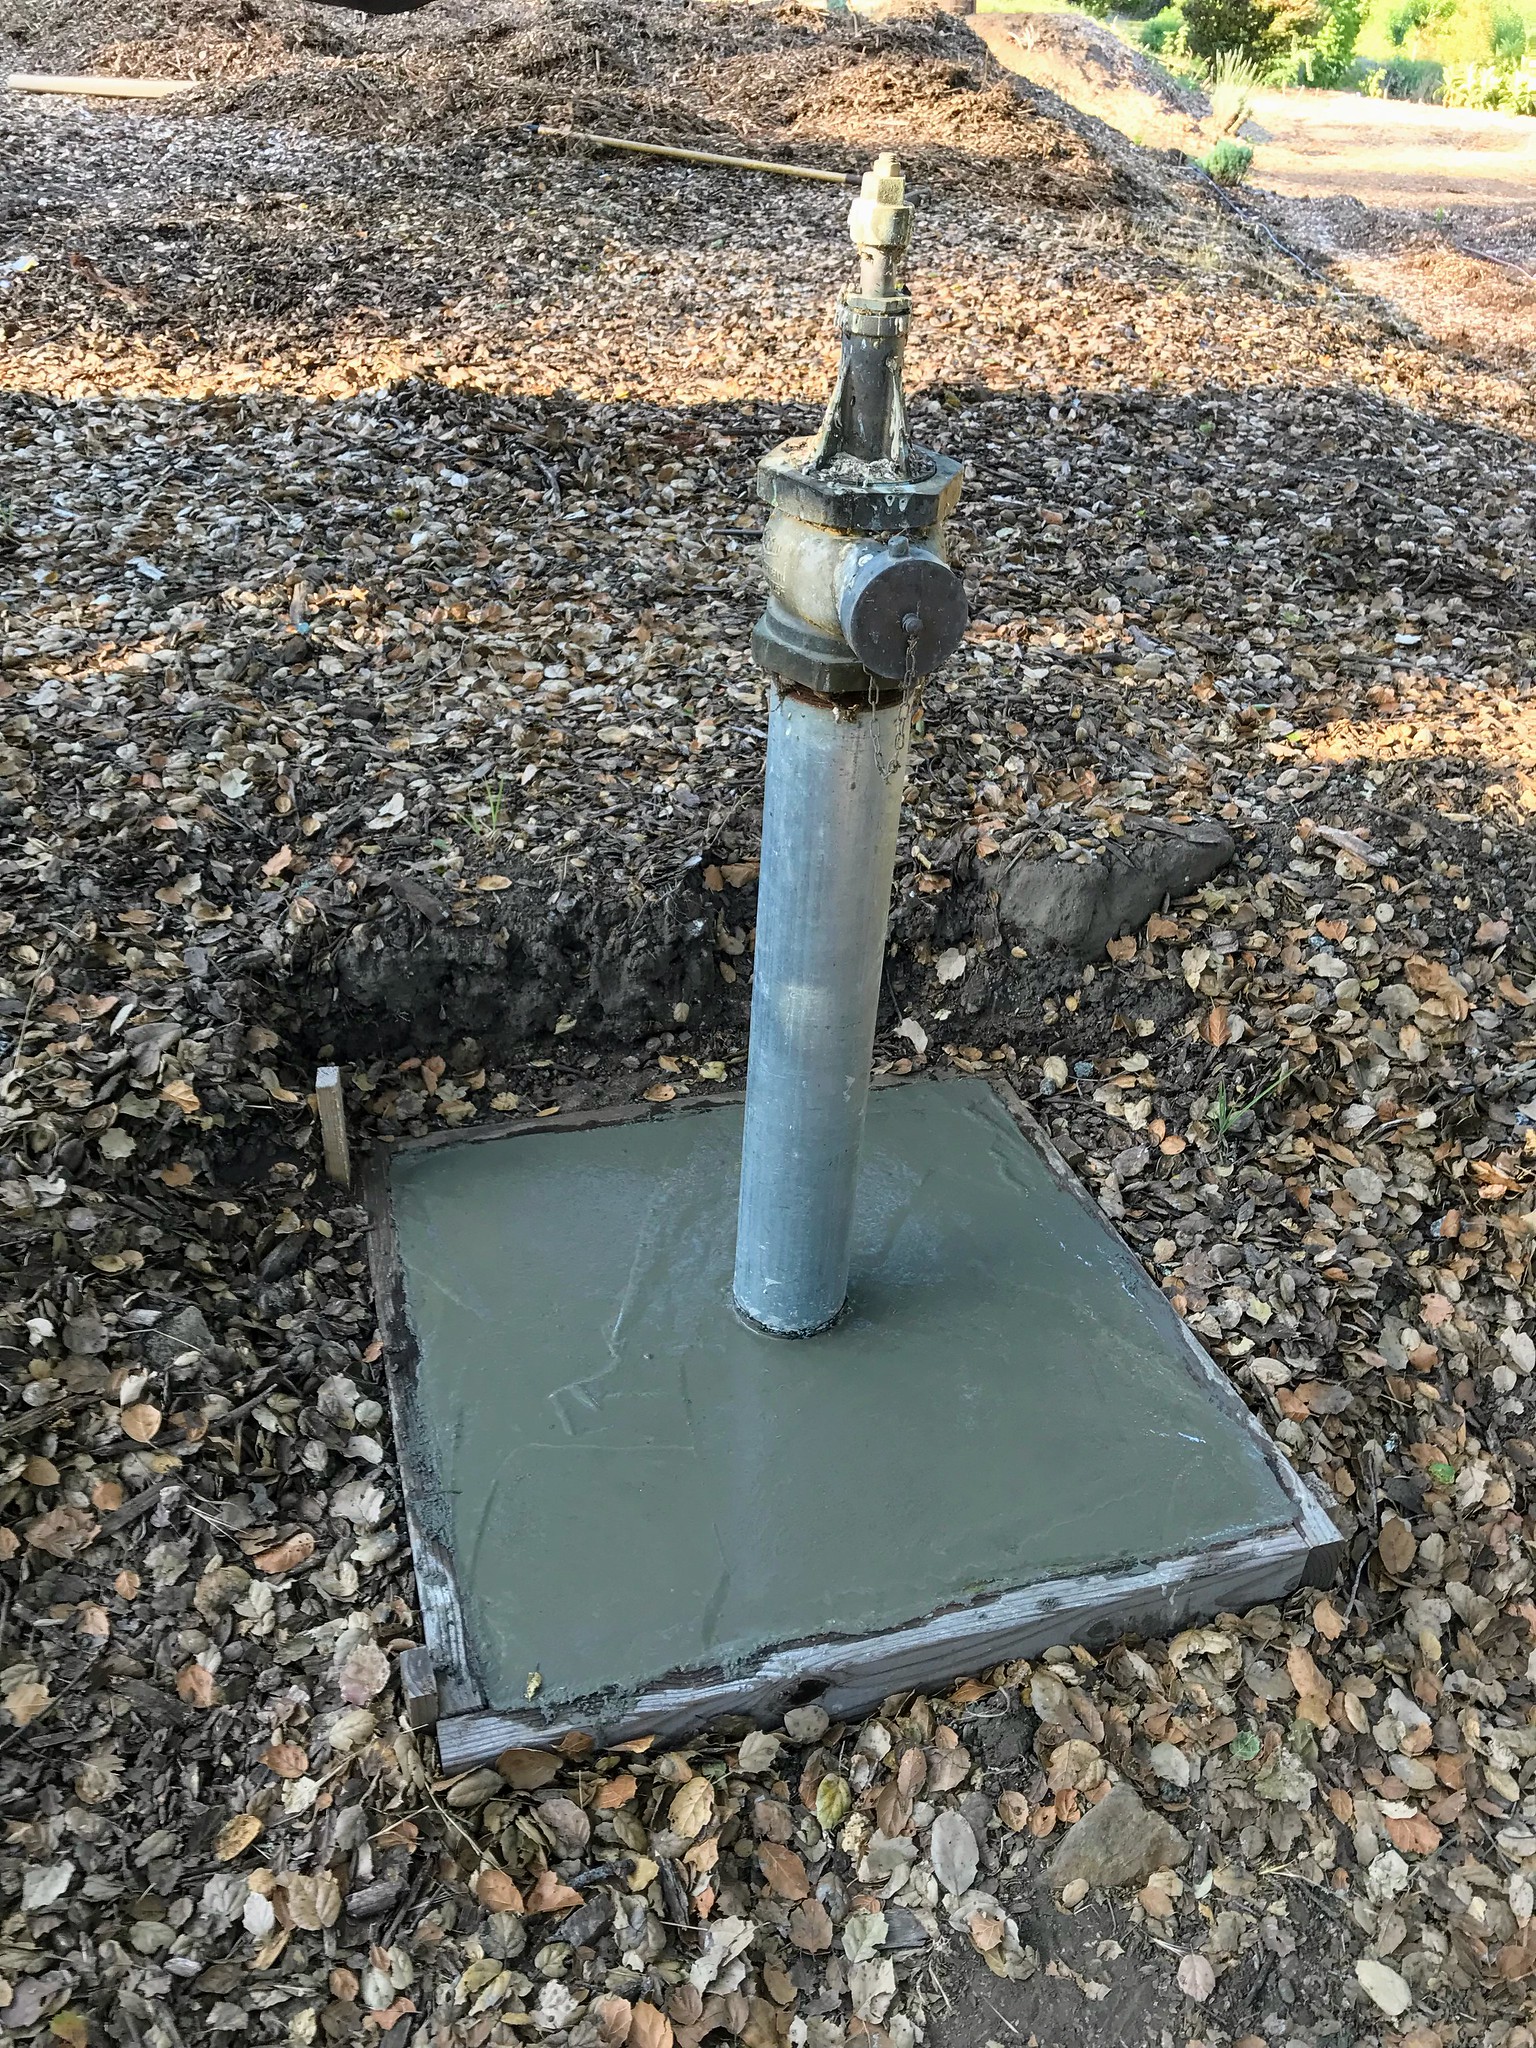
I was happy to see that I had some left over concrete this time. That allowed me to pour the fire hydrant's pad. The pad's form has been ready for pouring for years, but I've always waited for a bigger concrete job to tackle it. Finally, that time was now.