👨🌾 Garden Pergola
We finished our garden pergola! It has been a long time coming. We purchased the 12'x12' pergola as a kit from Costco in March 2016. Brought the kit home and stored the 3 giant boxes in the carport along the Rodeo Gulch Creek at the bottom of our land. Were it remained for a year…

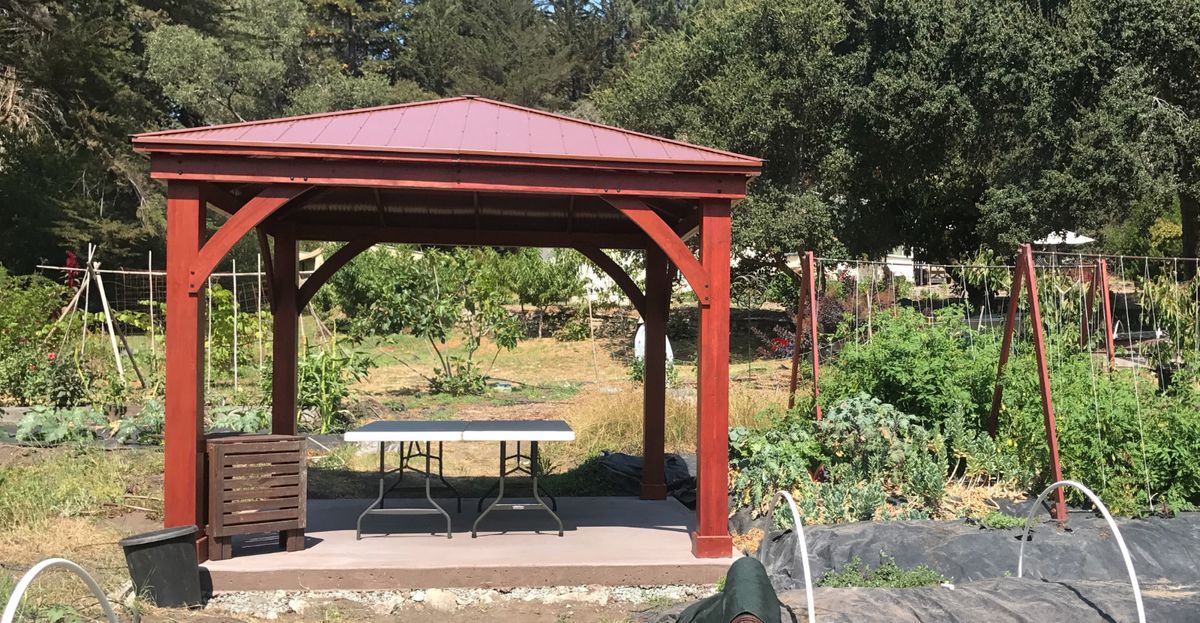
We finished our garden pergola! It has been a long time coming.
We purchased the 12'x12' pergola as a kit from Costco in March 2016. Brought the kit home and stored the 3 giant boxes in the carport along the Rodeo Gulch Creek at the bottom of our land. Were it remained for a year…
For before we could put the kit together we had to build a concrete pad to build it on. I marked a square where the pad should be placed and set out to replace topsoil with gravel and crushed concrete. The ground was much too hard to excavate in the summer, so this had to wait until the 2016-2017 winter.

Slab-on-grade foundation requires a layer of base rock (or gravel) on top of compacted soil to prevent cracking. Wire mesh and reinforcing rods further prevent cracking.

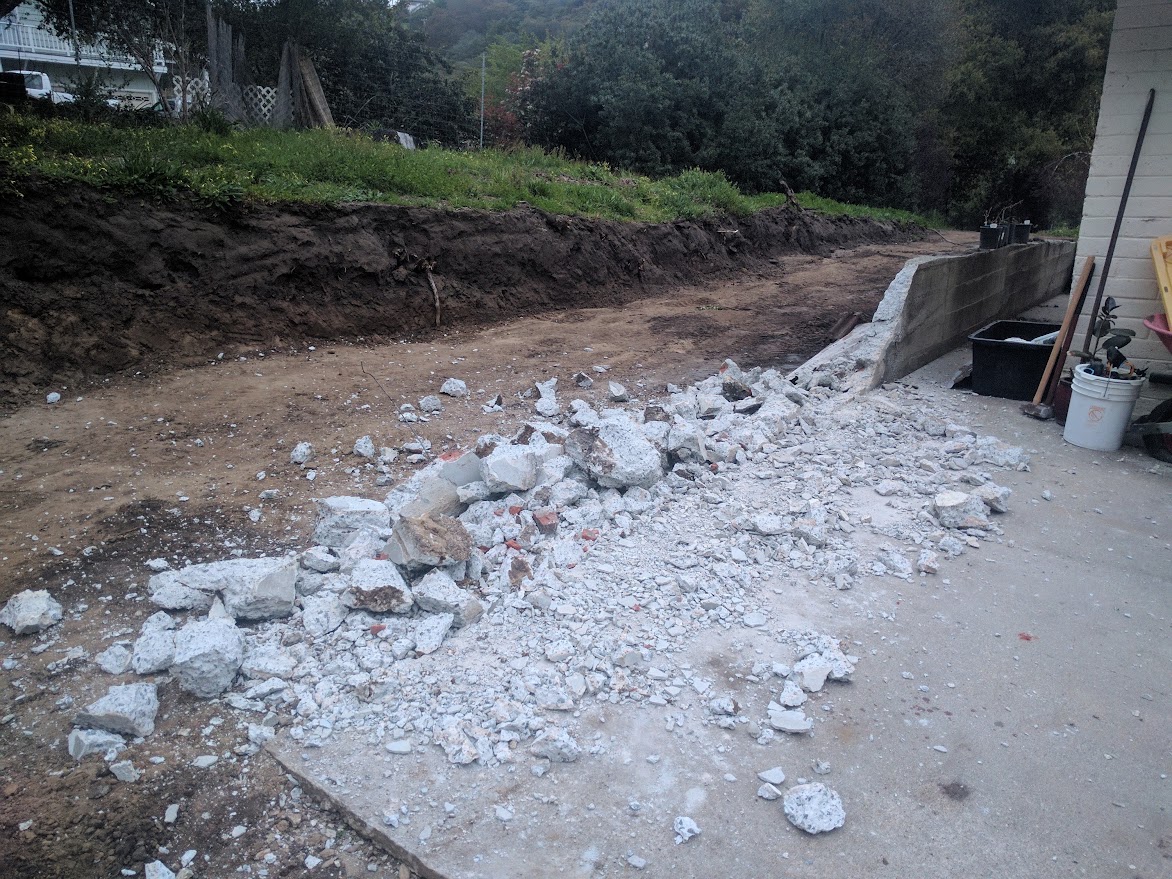
A perfect opportunity to re-use the concrete chunks from the old retaining wall behind the house. While I was preparing the site of the pergola, I was also removing this old concrete retaining wall[1]. Killing two birds with one stone.
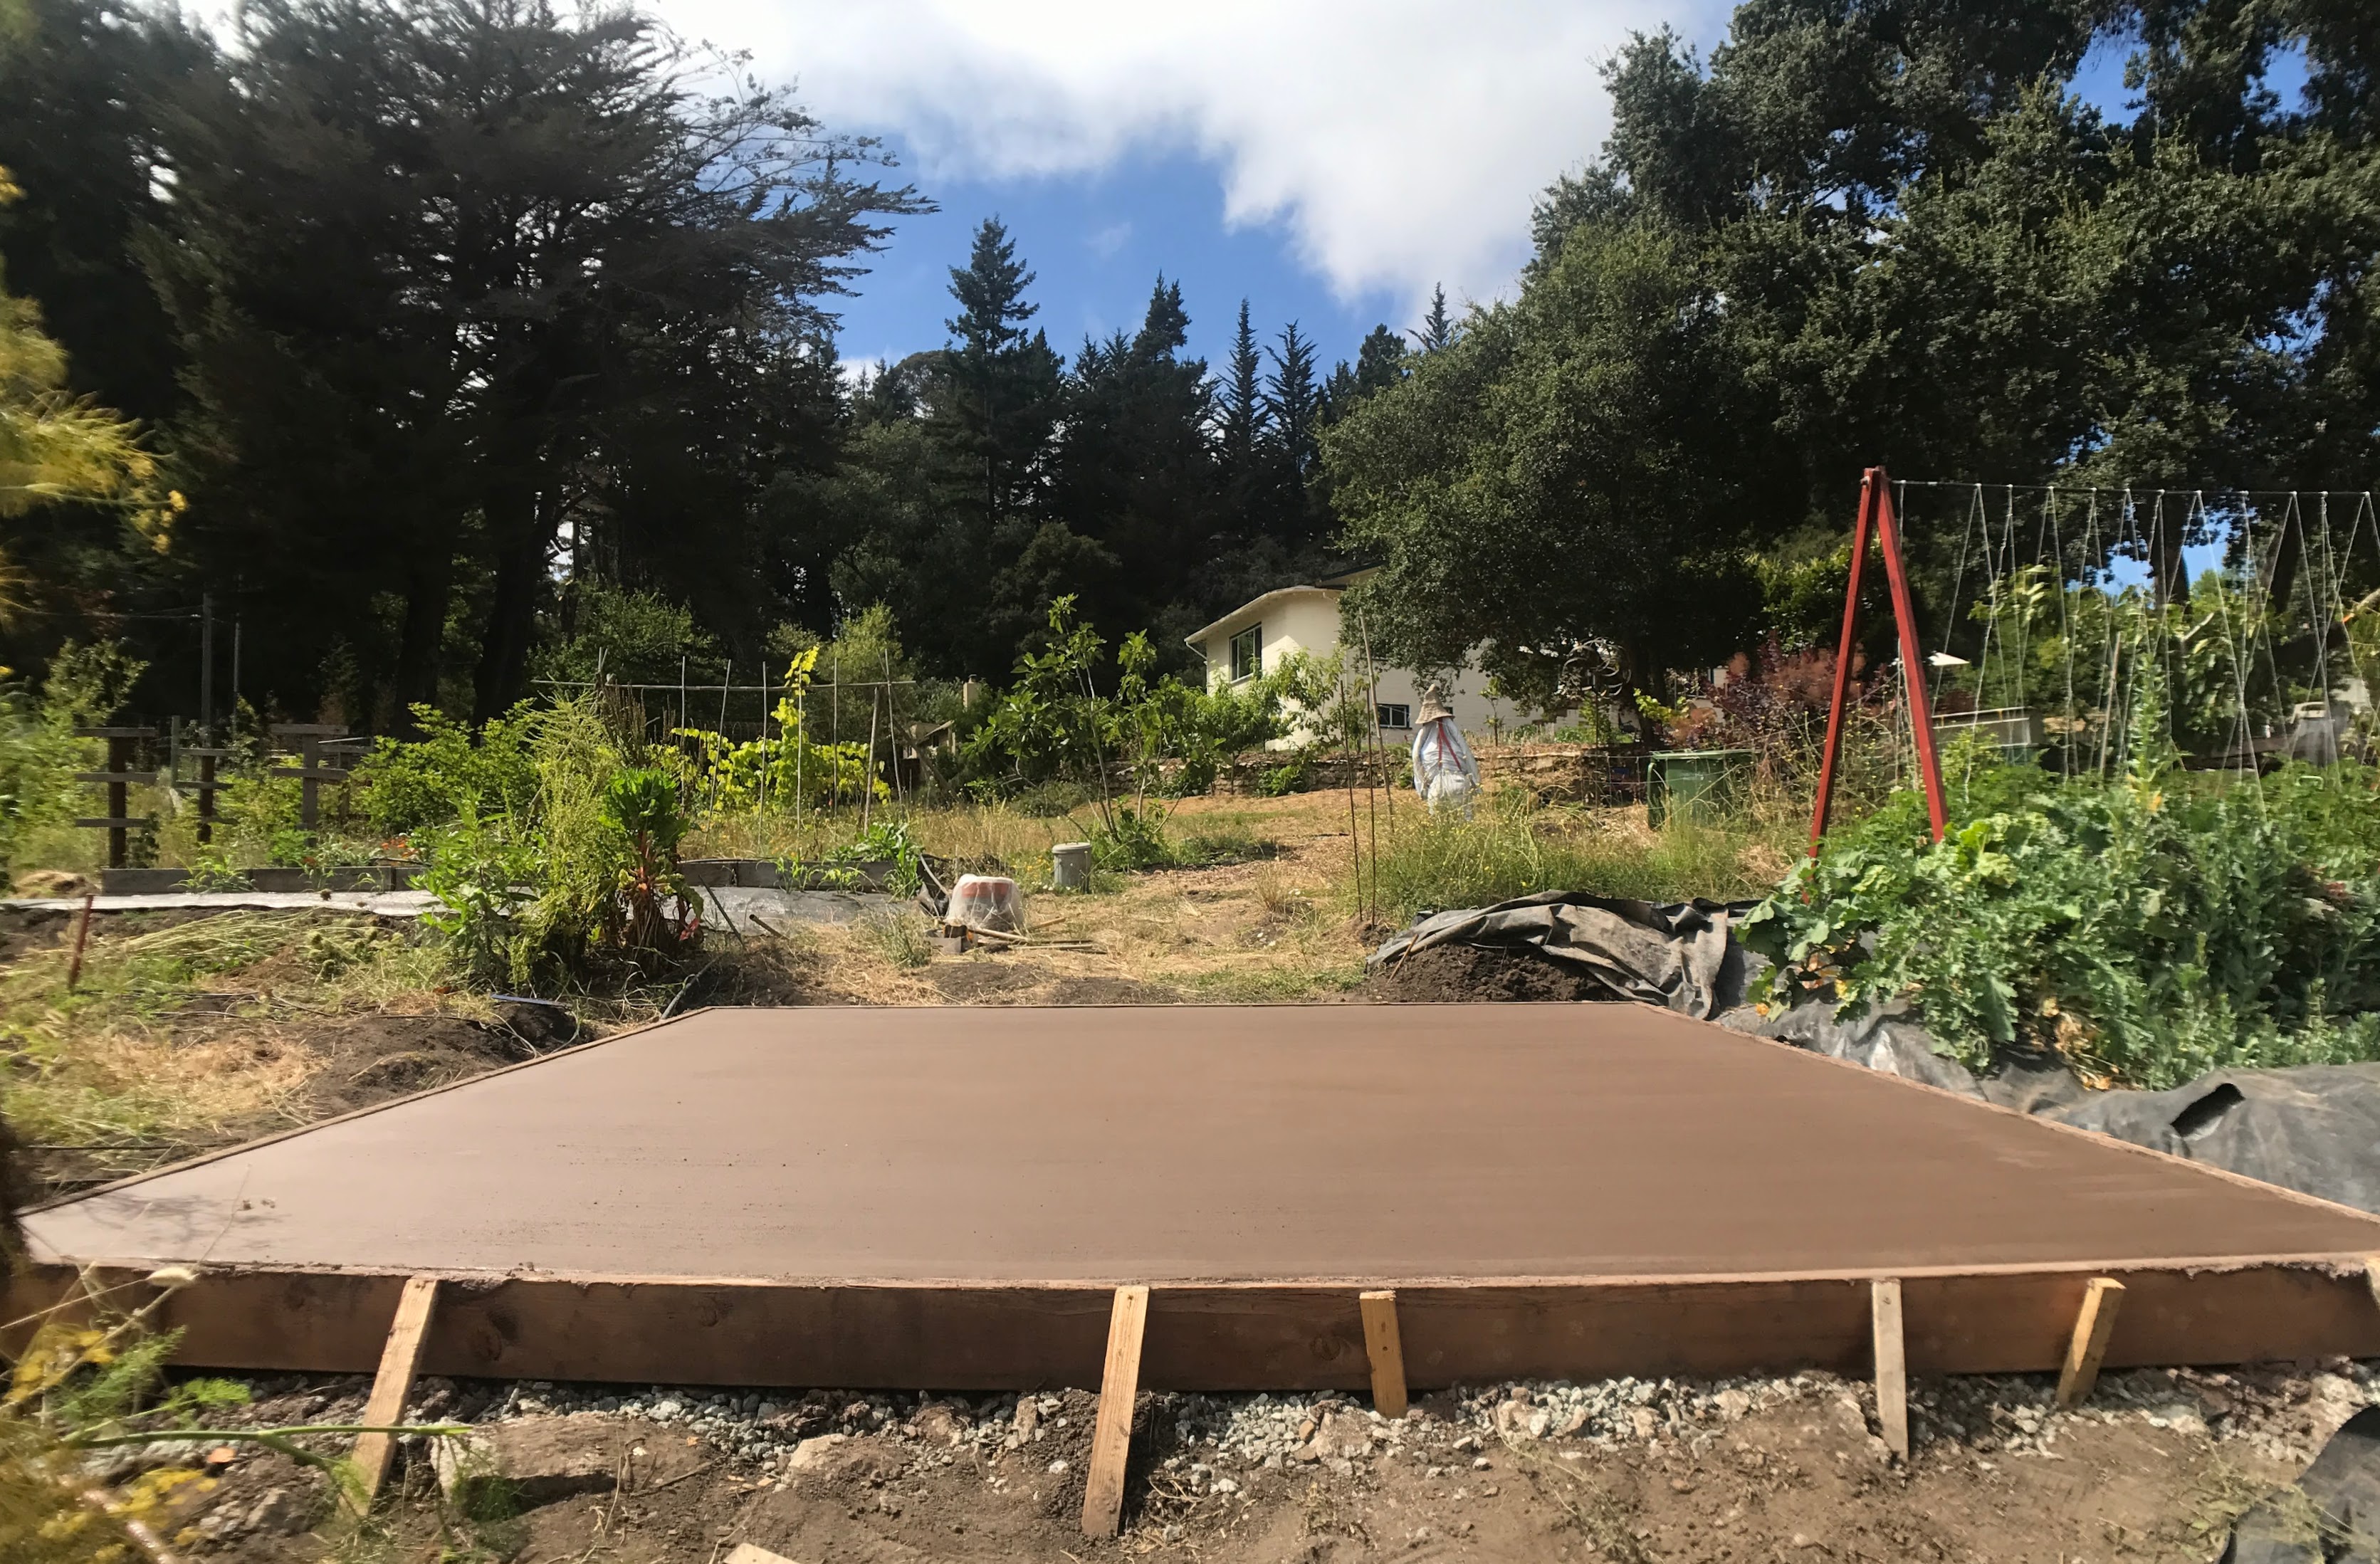
With a base deposited by the end of spring 2017, I could frame the foundation: 12'x12' and 3½" thick with a 4½" footing. No reinforcing rods but with a wire mesh throughout.
Don Sakamoto helped me out pouring and finishing the concrete. So glad I had his help. His power trowel made for a super nice finish. Thanks Don!
It was finally time to unpack the pergola kit. Unfortunately, the wood had sustained some damage. A rat had nibbled on some of the pieces. Most of the damage, however, came from rot caused by flooding of the Rodeo Gulch Creek. There was 3" of water flowing through the carport during the flood. I repaired the damage with wood filler while I stained each and every piece of the kit.
Staining all the wood was a huge job. It took me 3-4 days(!) to apply 3 coats. With the factory treatment, this should make for a lasting finish.
I finished the staining days before my mom with my brother Joep came over from the Netherlands. Joep immediately jumped into and picked up the construction by erecting the four posts and assembling the four roof panels.
All I had to do was bolt down the posts to the concrete foundation. And with help from Tony and Adam and their family, we raised the panels on top of their posts.
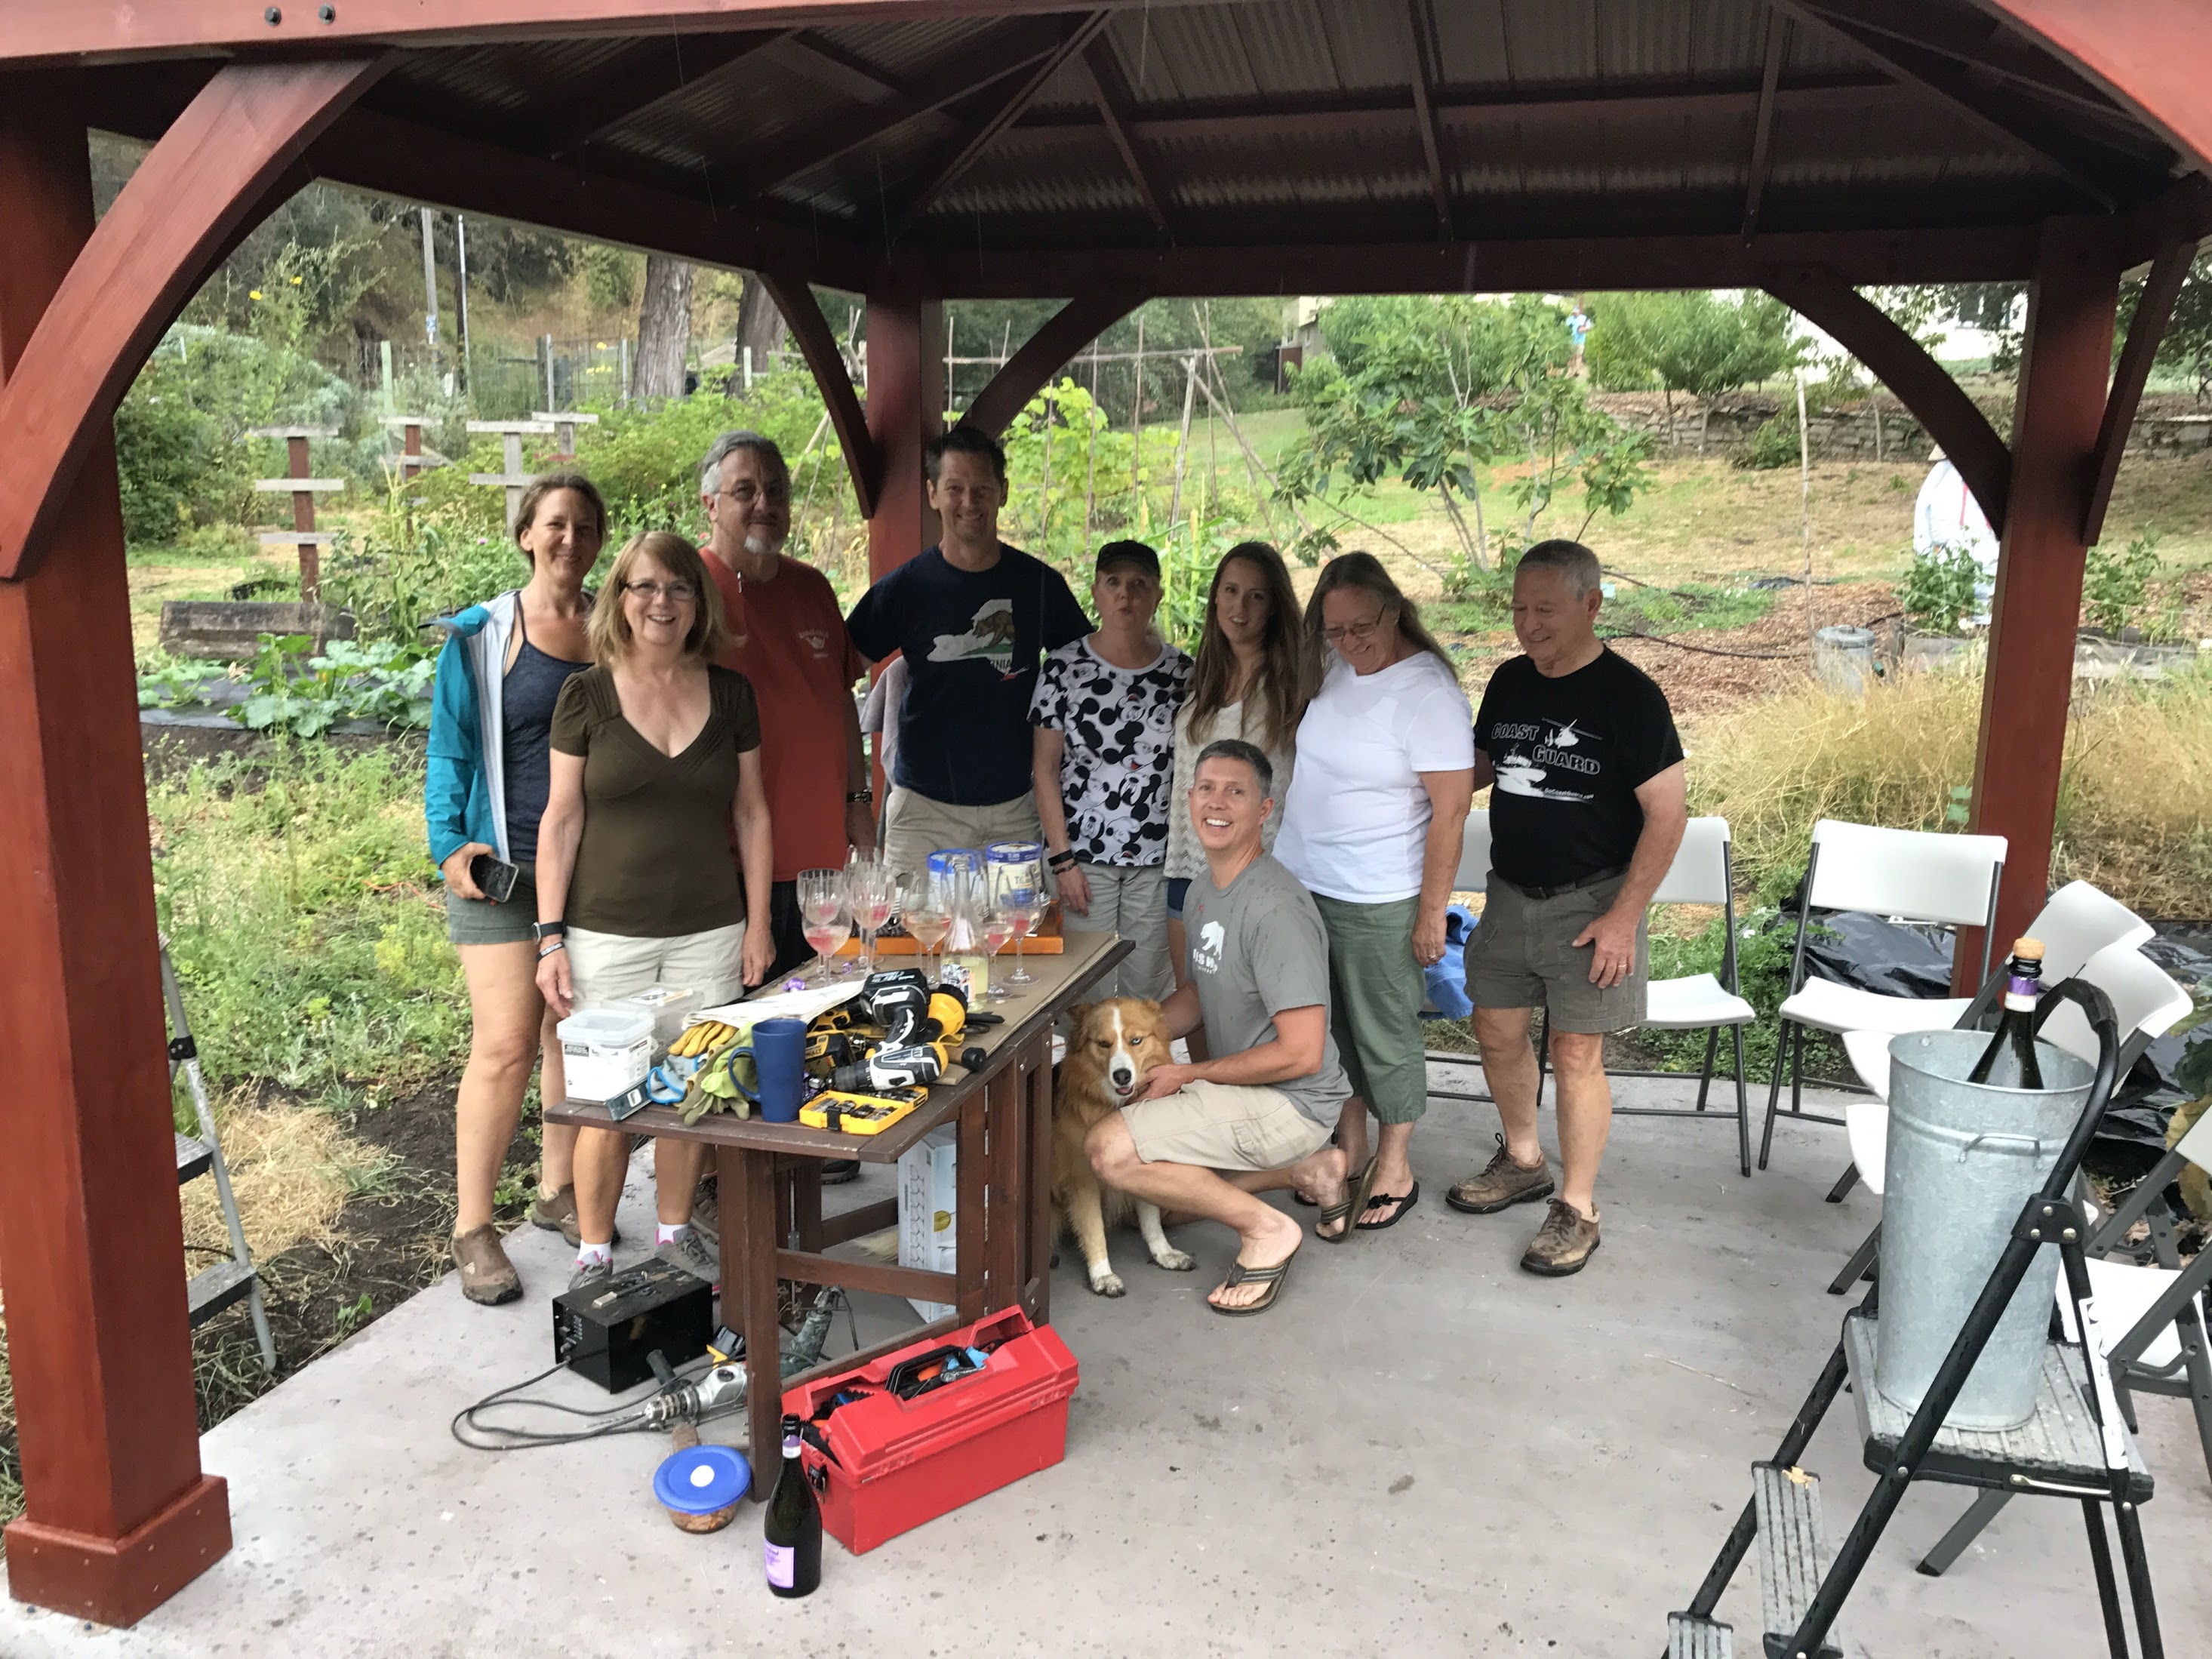

Thanks to everyone for your help!
A new retaining wall will be set further back, along with the excavation line. ↩︎